Last updated November 21, 2026
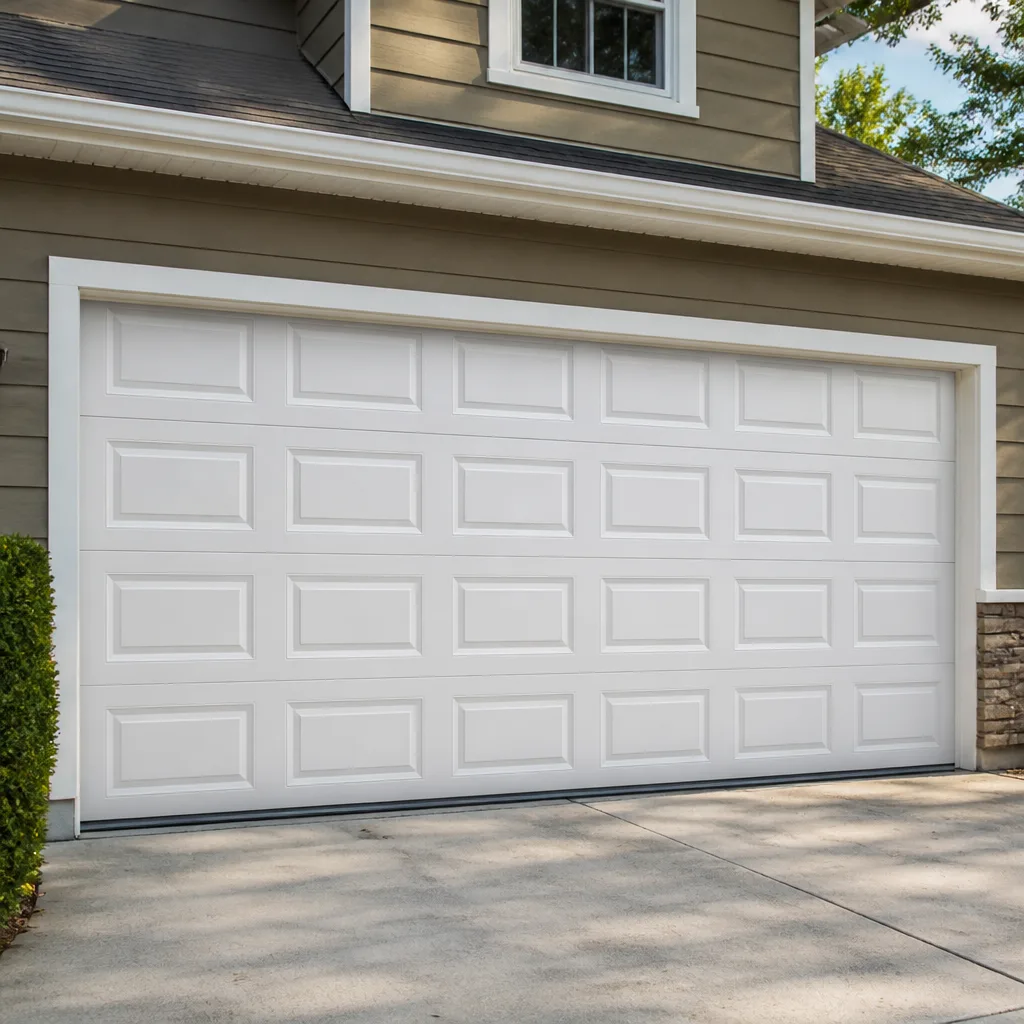 Raised-panel steel
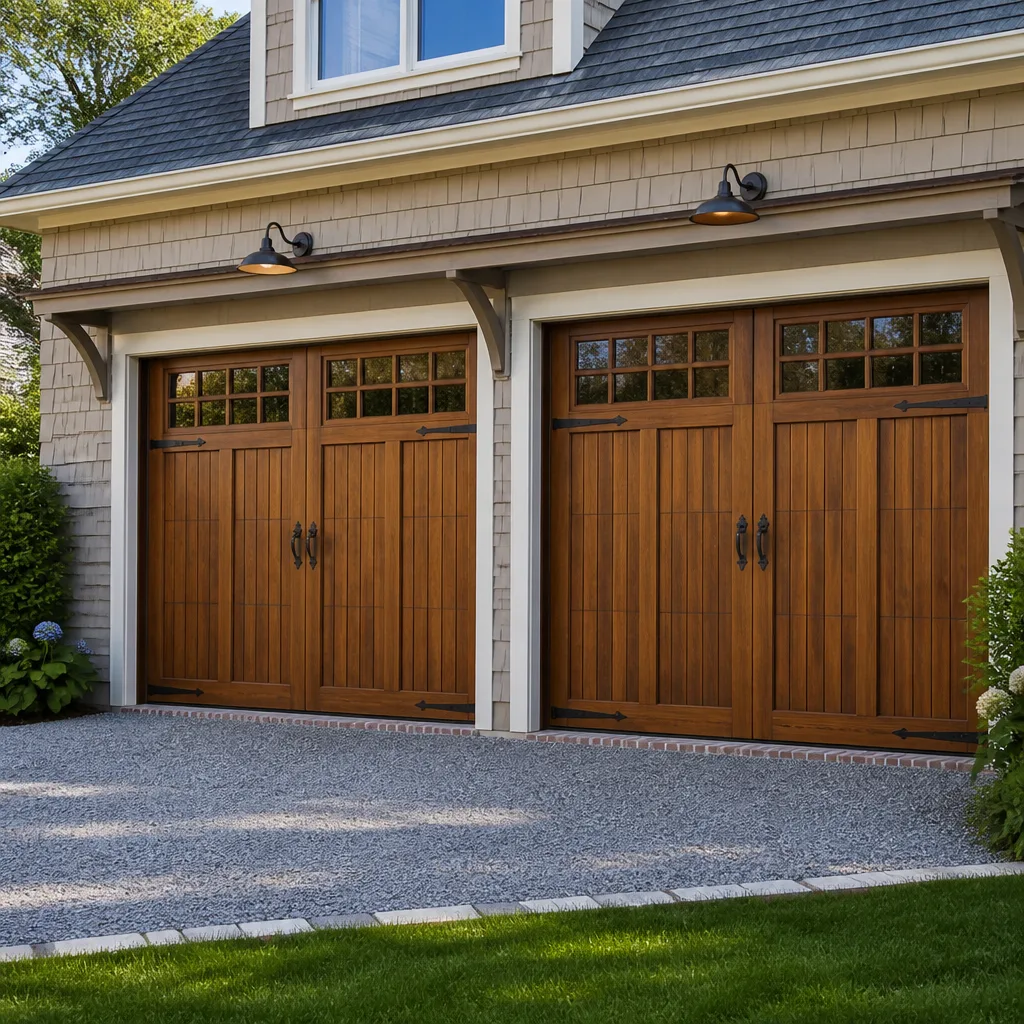 Carriage house
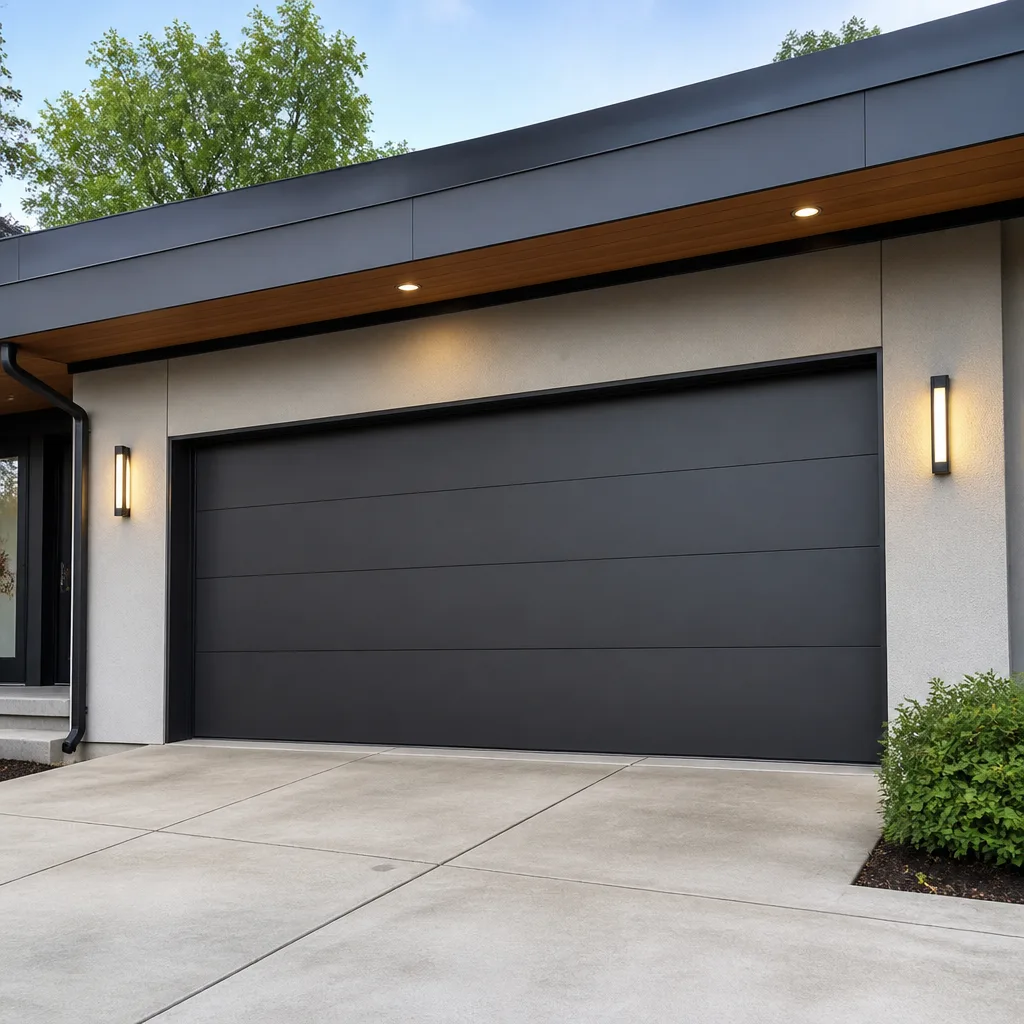 Modern flush
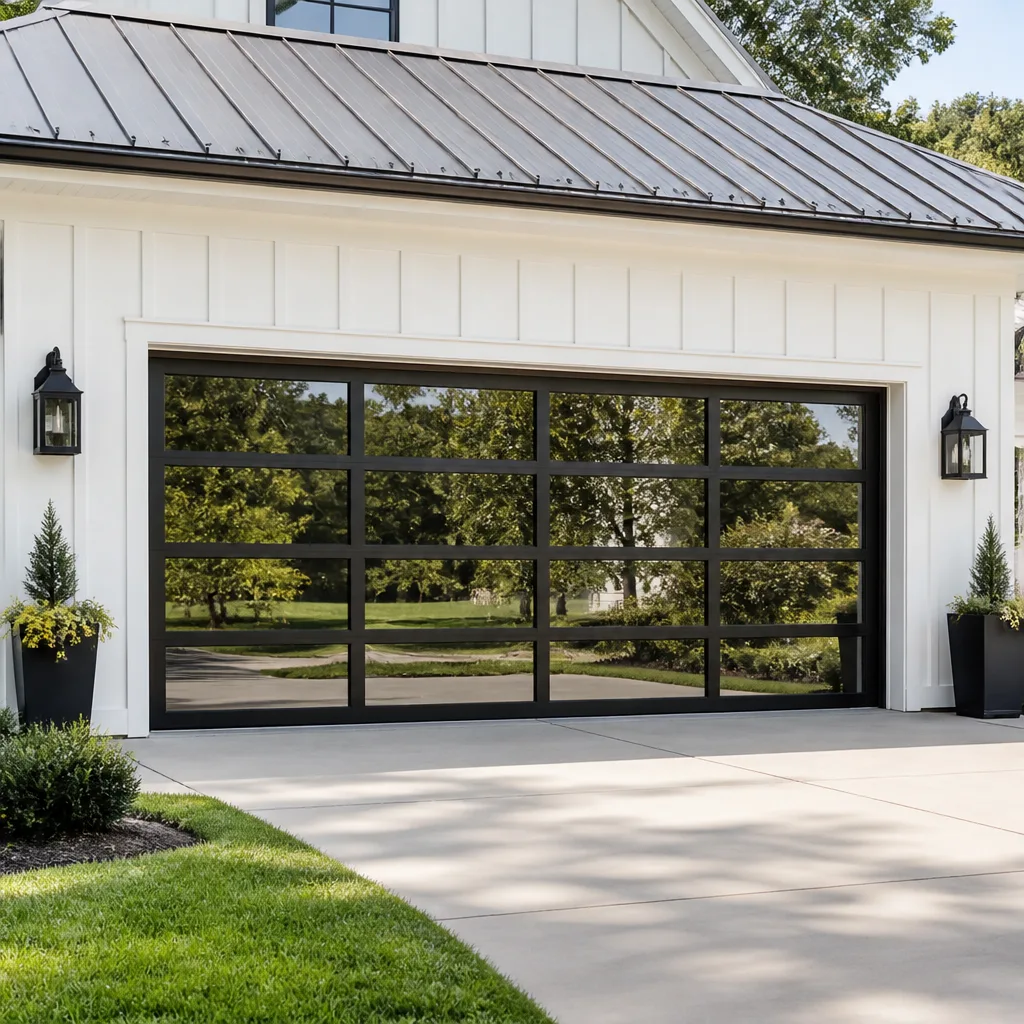 Full-view glass
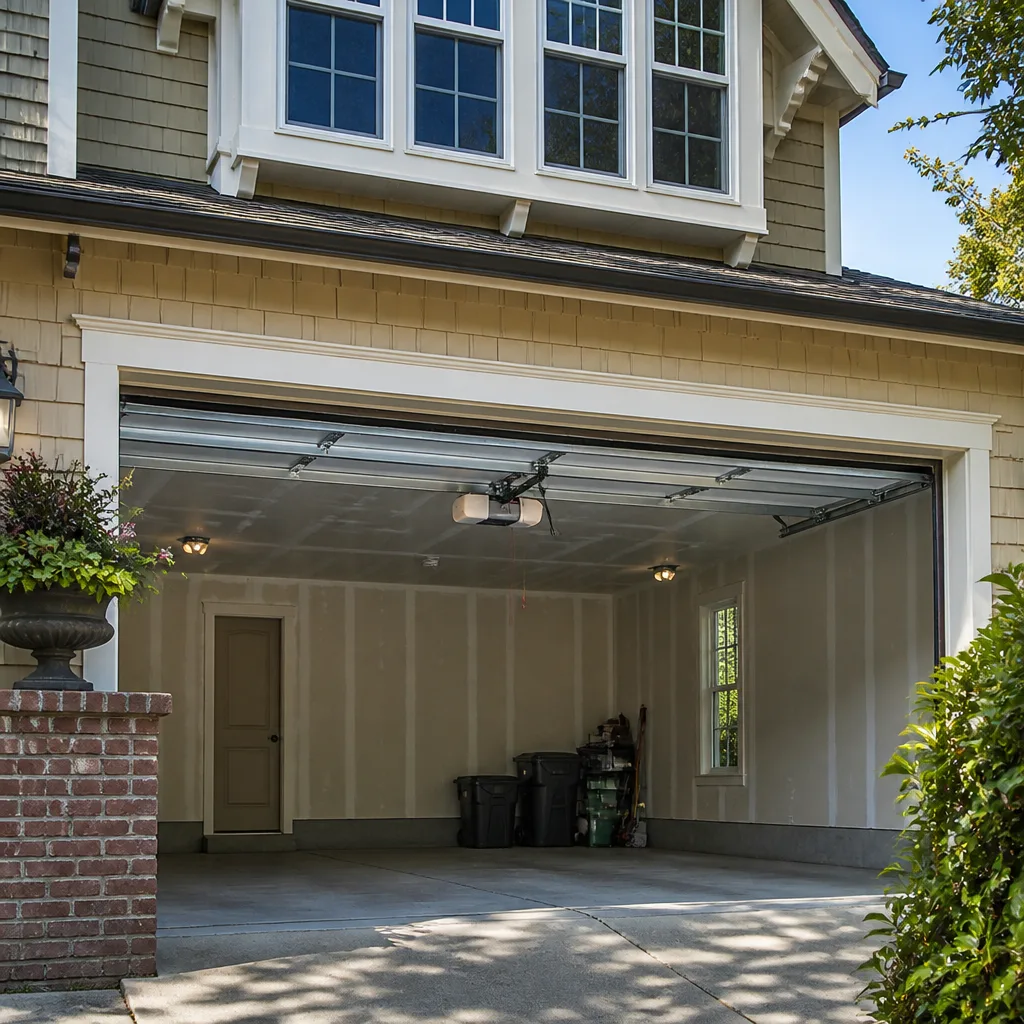 LiftMaster openers
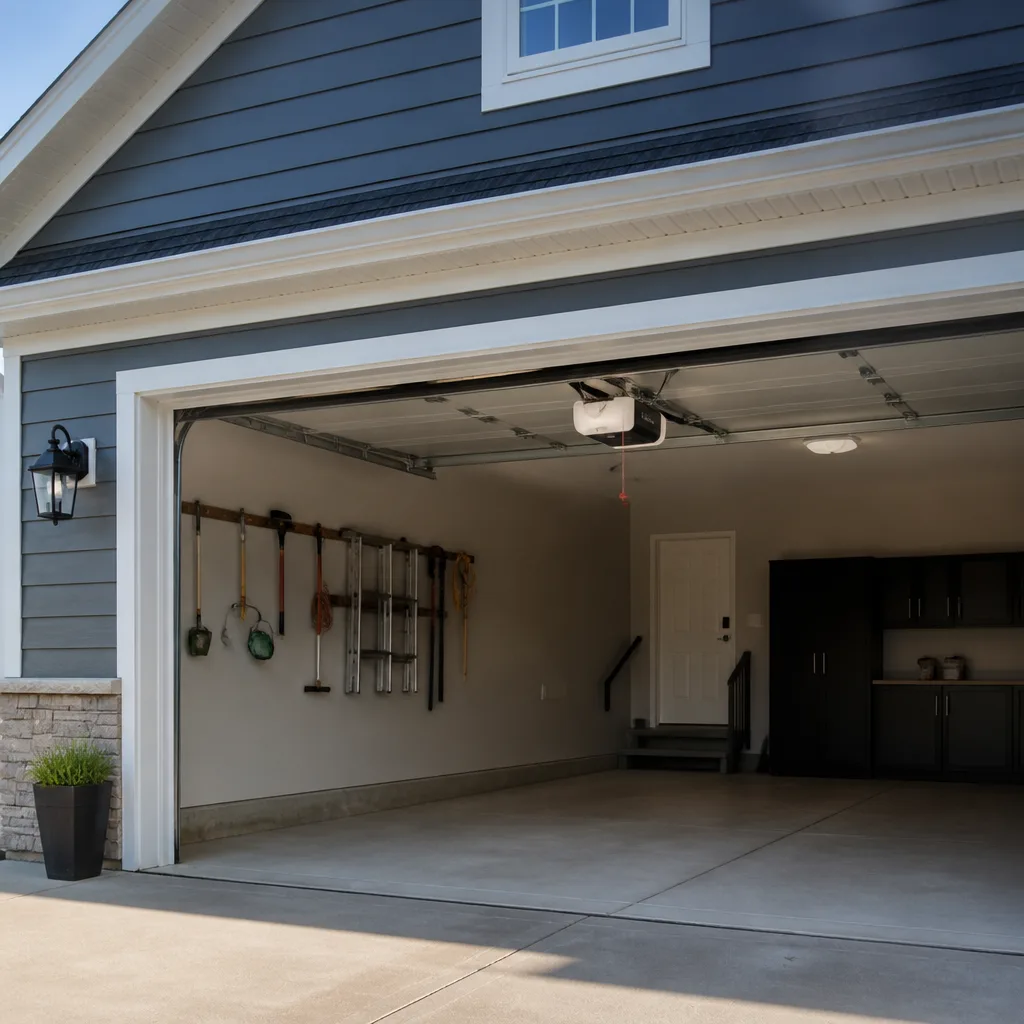 Chamberlain openers
Full 25-point door and opener safety check with every visit - springs, cables, rollers, tracks, and your LiftMaster or Chamberlain opener included
You get a price before we start. It does not change when the pro arrives.
Get your free estimateDIY vs Professional Garage Door: The Renton Homeowner’s Decision Guide
Most DIY vs pro garage door debates miss the point. The question isn’t whether you’re handy enough. It’s which specific tasks carry enough injury risk that paying a professional is the cheap option, and which ones any careful homeowner can finish on a slow afternoon. A torsion spring stores enough mechanical energy to break a wrist or worse, not because homeowners are careless, but because one wrong move during adjustment releases tension that installers contain with tools most people don’t own and won’t buy for a single job. This guide splits the work task by task, covers what happens to a Washington homeowner’s insurance claim after a botched repair, and shows you the middle path that saves money without risking your hands. We’ll keep the Renton angle in view throughout.
Quick Answer
Safe DIY garage door tasks are weatherstripping, lubrication, photo-eye sensor alignment, remote and keypad programming, and light visual inspection. Leave torsion springs, extension springs, cable drums, and any bolt under tension to a trained technician. In Renton, a professional spring repair typically runs $180 to $340 for one spring, and a torsion spring is replaced as a matched pair about twice that. Cosmetic and simple mechanical tasks stay in your hands, and the dangerous components go to a specialist. That split gives you most of the savings and none of the hospital risk.
Styles & brands we work with
- Raised-panel steel
- Carriage house
- Modern flush
- Full-view glass
- LiftMaster openers
- Chamberlain openers
Table of Contents
- Where the Safety Line Actually Sits
- Tasks That Are Genuinely Safe to DIY
- The Jobs That Carry Real Injury Risk
- The Washington Liability Question: What Your Insurance Does After a DIY Failure
- Tools and Time: What a DIY Spring Replacement Actually Costs
- Warranty Implications of DIY Work on Springs and Openers
- The Middle Path: Pro for the Risky Parts, You for the Rest
- Renton-Specific Factors: Weather, Housing Stock, and Your Door
Where the Safety Line Actually Sits
A garage door is a balancing act between a heavy panel assembly and stored mechanical energy. The springs do the lifting so you don’t have to. That’s the whole system in one sentence, and it’s also why the safety question is so clear-cut. Everything on the “energy” side of the door is dangerous to touch. Everything on the “seal, sensor, and signal” side is not.
Here’s the dividing line, stated plainly:
- Safe for a careful homeowner: the rubber seal at the bottom, side and top weatherstripping, hinges and rollers when the door is fully open and springs are at rest, the photo-eye sensors, the wall button, remotes, keypads, and lubrication of moving metal-on-metal parts.
- Not safe to DIY: torsion springs mounted on the header above the door, extension springs mounted along the horizontal tracks, the cables that run from the bottom corners up to the drums, the drums themselves, and any bolt that’s holding tension on the system while it’s under load.
In our experience, the calls that turn into emergency work are the ones where a homeowner tried the second list and got partway. A door that’s stuck up with a snapped spring is annoying. A door that dropped because a cable came loose with someone standing underneath is a different category entirely. Renton homes with older single-car garages see this often because the spring hardware is original to the house and the homeowner assumes the whole assembly is tougher than it is. When the door won’t move, stop and call a specialist before you start turning bolts.
Tasks That Are Genuinely Safe to DIY
Plenty of the work a door needs is genuinely within reach. Knowing which tasks to keep is worth real money over the life of a door, and none of these carry an injury risk if you follow basic ladder sense and read the manufacturer’s instructions. Renton Garage Door Repair Co handles garage door repair for homeowners who’d rather not climb at all, but the following jobs are ones we tell callers they can do themselves.
- Bottom seal replacement. The rubber seal that touches the floor wears out fastest. Measure the door width, buy a replacement seal of the same profile, and slide it into the retainer. Under an hour, no tools beyond a utility knife and a screwdriver.
- Side and top weatherstripping. Vinyl or brush weatherstripping around the frame takes a screwdriver, a tape measure, and patience. It matters in Renton because our wet winters drive water toward the door opening, and worn stripping lets it under the door.
- Lubrication. A quick pass with a garage-door-specific lubricant on the hinges, rollers, and the torsion bar bearing plate (not the spring coils themselves) keeps the door quiet and the opener working less hard. Twice a year is plenty.
- Photo-eye alignment. If the door reverses on the way down when nothing’s there, the small sensors near the floor are usually out of alignment or dusty. Wipe the lenses, check that both LEDs are steady, and nudge the brackets back into line. This is a five-minute fix and worth trying before you call anyone.
- Remote and keypad programming. Nearly every modern opener from LiftMaster, Chamberlain, or Genie has a “learn” button on the motor head and a documented pairing sequence. The manual covers it. So does the manufacturer’s website. No danger here at all.
- Roller and hinge replacement with the door fully open. With the door in the raised position and the springs relaxed, individual rollers slide out of their hinges. This is a real DIY task. It becomes dangerous the moment the door comes down, so don’t try it with the door closed.
We’d add one more: a visual inspection. Walk around the door once a month, look at the springs for gaps or rust, check the cables for fraying, and watch the door’s travel for wobble. Catching a problem early is cheaper than catching it as a breakdown, and inspection costs nothing.
The Jobs That Carry Real Injury Risk
This is the section that matters most. Torsion springs, extension springs, the cables, the drums, and any structural bolt that holds the system together under tension are all dangerous enough that trained technicians treat them with specific caution every single time. The energy stored in a torsion spring when the door is down is enormous. Release it wrong and the spring, the bar, or the cable can whip with enough speed to break bones.
What’s actually risky:
- Torsion spring replacement and adjustment. The spring sits on a shaft above the door. Winding bars hold that tension while you loosen the set screws. The bars are specialized tools, sized to the spring, and using a screwdriver or a piece of rebar as a substitute is exactly how serious hand and wrist injuries happen.
- Extension spring replacement. Extension springs run alongside the horizontal tracks and are easier to reach, which is exactly the trap. They still snap back with force. They also need safety cables through the center of the spring, and a spring without safety cables is a projectile waiting for the right moment.
- Cable replacement and cable drum work. The cables transfer the spring’s force to the bottom corners of the door. If a cable comes off under tension, the door drops on one side and can fold or fall. There’s no safe way to work on a drum or cable with the door in a loaded position, and knowing which positions are safe to work in requires training.
- Header bracket bolts and any bolt on the torsion bar. These hold the whole spring system in place. Loosening one is a decision that can be undone only by luck.
- Any opener repair that involves lifting the motor with the door attached. The rail, the motor, and the door are a coupled system. Working on the opener with the door connected can mean the door falls or the motor drops on you.
Our technicians have up to 15 years of experience and are trained to handle springs every week. That tells you how often this comes up and how much of the job is knowing exactly which bolt is safe to touch and which one isn’t. Spring repair performed by trained technicians is the standard we hold to, because the alternative is a job that takes two people and a set of winding bars to do safely, and a homeowner does not have either on hand.
The Washington Liability Question: What Your Insurance Does After a DIY Failure
This is the part most DIY guides skip. If a homeowner’s self-repaired spring fails and damages the car, the door, or worse, a person, the question of what a homeowner’s insurance policy will cover is not a simple yes. Every policy reads differently, and how the claim unfolds depends on the specifics: whether the damage was from faulty workmanship, whether someone was injured, and whether the insurer decides the work fell below a reasonable standard.
What we can say with confidence:
- Injury claims are the highest-stakes scenario. If a family member or a guest is hurt by a door that failed after a self-repair, the liability question lands on the homeowner. A standard policy is designed for accidents, not for work the homeowner performed and then failed. Don’t assume you’re covered; read your policy or ask your agent before you pick up the tools.
- Property damage is often the easier claim. A dented car or a damaged door is a tangible loss. Whether the insurer pays depends on how they read the cause. Faulty workmanship exclusions show up on many policies, and a claim adjuster will ask who did the work.
- Documentation matters. If you do any DIY work, keep receipts for parts and note the date. If you hire a professional, keep the invoice. Both become relevant if there’s ever a claim.
- Washington’s rules don’t change the physics. The insurance question is a policy question, not a garage door question. The reason to think it through is that hiring the dangerous work out is usually cheaper than a deductible, and it’s always easier than an argument with an adjuster.
We’re a garage door specialist, not an insurance professional, and the answer to your specific coverage question belongs with your agent. What we can tell you is what we see: the calls after a failed DIY repair are the ones with the most damage, the most stress, and the least favorable outcome for the homeowner. If the door is already broken, the safer play is to call a professional before you make it worse.
Tools and Time: What a DIY Spring Replacement Actually Costs
Suppose you decide to tackle a torsion spring yourself. Here’s what the actual budget looks like once you stop counting just the spring.
- Two winding bars. Sized to your spring, and there’s no safe substitute. These aren’t in every hardware store, so you’re ordering them online or driving to a specialty supplier.
- Cable clips, a new center bearing plate, and often new cables. Springs and cables wear together. If the spring is broken, the cables are nearly always past their best. “While we’re in there” is real on this job.
- A proper set of wrenches and sockets. Set screws and bolts on a torsion system are usually specific sizes. If you don’t already own them, you’re buying.
- The learning curve. Watching a video is not the same as having your hands on a compressed spring for the first time. The first job takes hours. The second takes an hour. The time spent is real, and a mistake in the middle of it is the dangerous part.
- The spring itself. Priced by wire gauge and inside diameter. Getting the wrong size is a common first mistake, and it turns the whole project into a second order and a wasted afternoon.
Add that up and a DIY torsion replacement often lands close to or above the pro rate, before you count the risk. The professional rate includes the correct spring, the correct tools, the training, and the accountability if something fails. A single spring typically runs $180 to $340. A matched pair, which is the common replacement, is about twice that.
Typical Renton pricing for reference
| Task | Typical cost range |
|---|---|
| Torsion spring replacement (one spring) | $180 to $340 |
| Torsion spring replacement (matched pair) | About twice the single-spring rate |
| Extension spring replacement (one spring) | $180 to $340 |
| Cable replacement (one side) | Quoted on site |
| Opener repair | Quoted on site |
| Full new door installation | Measured and quoted |
Pricing here is per job and by estimate. A written estimate sets the final price, and we quote that before any work starts. Call (855) 475-0589 for a free estimate on any of the above.
Warranty Implications of DIY Work on Springs and Openers
Manufacturer warranties exist for the hardware, and most of them have language about improper installation or unauthorized repair. If a homeowner replaces a spring with the wrong size, or works on a garage door opener repair job and damages the logic board or the gear assembly, the warranty on that specific component is often void. On hardware that costs a few hundred dollars to replace, that’s a real loss on top of the cost of the original mistake.
What this means in practice:
- The spring and its installation are typically covered as a unit. A spring that fails within its warranty period is usually covered when a qualified technician installed it. That documentation matters if the spring fails early.
- Openers are the same story. A LiftMaster, Chamberlain, or Genie opener carries a warranty on the motor and the electronics. If the unit was installed or repaired by someone who wasn’t qualified, and the failure traces back to that work, expect the claim to be denied.
- Keep the paperwork. Manufacturer receipts, professional invoices, and any documentation from the installer become the difference between a covered and a denied claim. Even a small DIY habit is worth recording.
- A new door comes with the manufacturer’s finish and hardware warranty. Get the garage door installation handled by a technician and the installation itself is often covered for a set period, on top of the door.
The rule of thumb: the cosmetic and simple mechanical work is unlikely to void anything. The spring, opener, and cable work is exactly where warranties get complicated. And any work that involves replacing hardware carries the risk of voiding coverage on the parts you touched.
The Middle Path: Pro for the Risky Parts, You for the Rest
Most DIY vs pro guides frame it as an all-or-nothing choice. It isn’t. The best value for a lot of Renton homeowners is a split: hire the dangerous components, do the rest yourself. You get the safety of a trained technician on the springs and cables, and you keep the satisfaction and savings on the cosmetic and simple mechanical work.
Here’s how to build that split this week:
- Walk the door and make a list. Note the springs, cables, rollers, hinges, weatherstripping, seal, sensors, and opener. Check the door’s travel and listen for new noises.
- Sort the list into safe and risky. Use the two lists earlier in this guide. Weatherstripping, seal, lubrication, sensor alignment, and remote programming are yours. Springs, cables, drums, and anything under tension go to a technician.
- Call for a free estimate on the risky side. A written estimate sets the price for the dangerous work, so you know what you’re committing to before anything gets done. Ask for the spring price as a pair, since springs are usually replaced together.
- Schedule the pro visit around your own work. Get the weatherstripping and lubrication done before the technician arrives, so the visit is focused and you’re not paying for tasks you can handle.
- Reassess after the pro visit. If the technician flags an opener issue, that’s a separate repair call. If the door needs replacement, you’ll have the information you need to decide between repair and a new door.
This is the path we usually recommend when a homeowner calls us asking about costs. It respects the skills you already have and spends your money where it counts. It’s also the path that keeps your insurance and warranty situation clean. Renton Garage Door Repair Co works this way regularly, with homeowners handling the cosmetic side and us handling the mechanical risk.
Renton-Specific Factors: Weather, Housing Stock, and Your Door
Renton’s position between the Cascades and Puget Sound means wet winters, occasional wind, and a real swing between seasons. That matters for your door in three specific ways.
- Moisture drives seal wear. The bottom rubber seal and side weatherstripping take the most abuse. A worn seal lets water against the door frame, and the wood and the door’s bottom panel are what suffer. This is the DIY task with the highest return, so budget an hour twice a year.
- Older housing stock means older hardware. Much of Renton’s single-family housing was built before the current generation of springs and openers. Original springs on a 25-year-old door are at the end of their service life even if they haven’t broken. A visual inspection catches the warning signs: gaps in the coils, rust, or a door that feels heavier than it used to.
- Seasonal wind and debris. Fall storms drop branches and leaves around the door and the tracks. A quick sweep of the tracks and the area around the door after a storm saves wear on the rollers. Renton neighborhoods on the edge of the valley see more leaf litter and more frequent debris, so a quick look after a big wind is worth the minute.
We’re a Renton business, and Renton is the place we know best. When a homeowner calls about a door that’s jamming or running heavy, “wet weather plus old springs” is the most common answer. We can work with your insurer if a claim comes up, and we work on your brand, whether that’s a Raynor, a LiftMaster, or a Genie. That brand familiarity shortens the diagnostic step and lets us source the right part the first time.
If you’re sorting through a bigger decision between fixing the door you have and replacing it, the garage door repair page covers what a repair visit looks like, and our garage door specialist team gets the first call when the door won’t move.
Common Mistakes to Avoid
- Using a screwdriver or a piece of rebar as a winding bar. It fits, it feels okay, and it is exactly the substitution that causes the worst hand and wrist injuries we hear about. The correct winding bar is sized to the spring for a reason.
- Replacing one spring when the pair is due. A torsion system runs two springs, and when one fails the other is at the same age. Replacing one spring means the second goes soon after, at a second service call. Springs are usually replaced as a matched pair, and the price reflects that.
- Skipping the safety cable on an extension spring. Extension springs don’t have the same drum arrangement as torsion, which is the reason safety cables through the center of each spring matter. No cable means a broken spring becomes a projectile.
- Working on the door with the springs under load. Rollers and hinges are replaceable with the door fully open and the spring tension relaxed. Trying the same job with the door down is where people get hurt.
- Buying a spring without checking the size. Springs come in wire gauge and inside diameter spec, and the wrong size means a door that won’t balance or an opener that works too hard. Measure twice, order once.
- Lubricating the spring coils. Grease on the coils attracts dirt and does nothing for the mechanism. Lubricate the hinges, rollers, and bearing plates, not the spring wire.
- Ignoring a small dent or a slow shift in how the door travels. Renton weather is hard on the bottom panel, and a small dent or a wobble on the way up is a sign. Catch it early and the repair is smaller and the insurance question never comes up.
See the difference
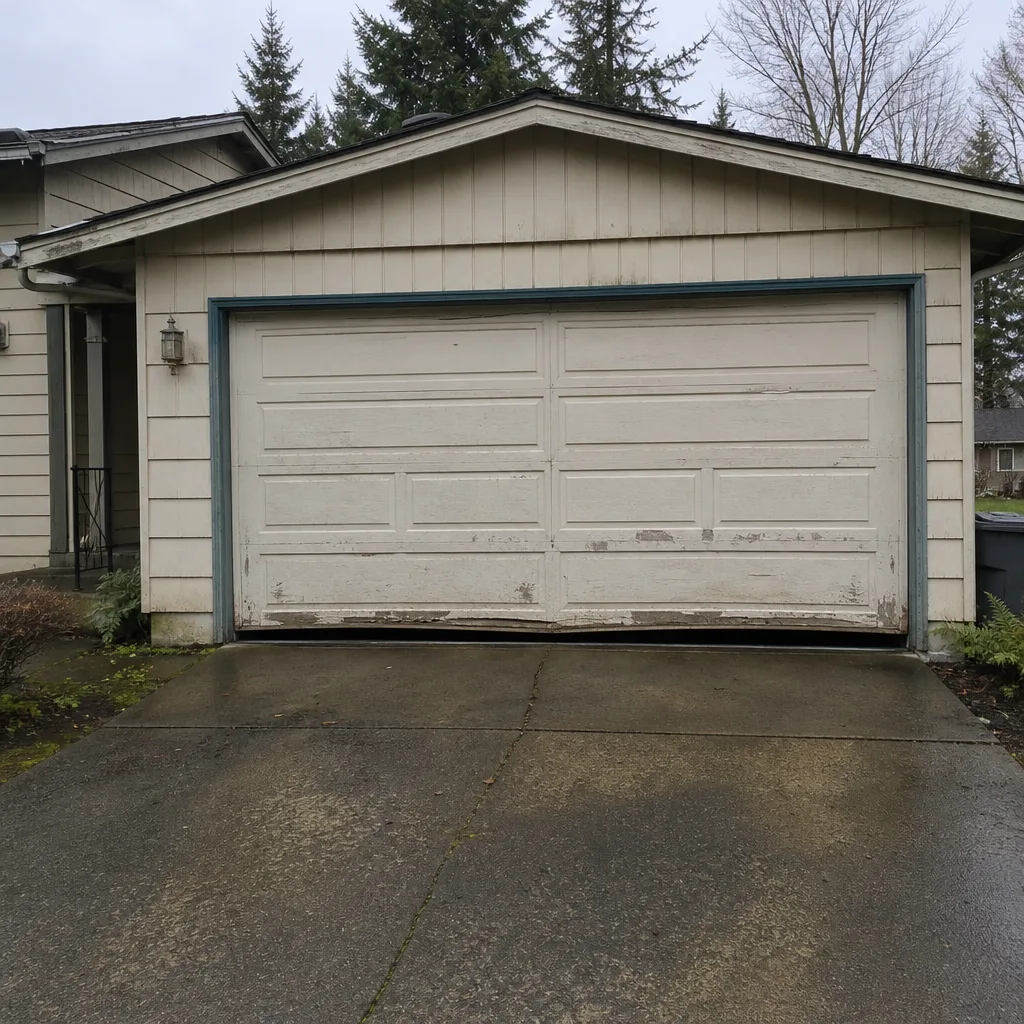 Before
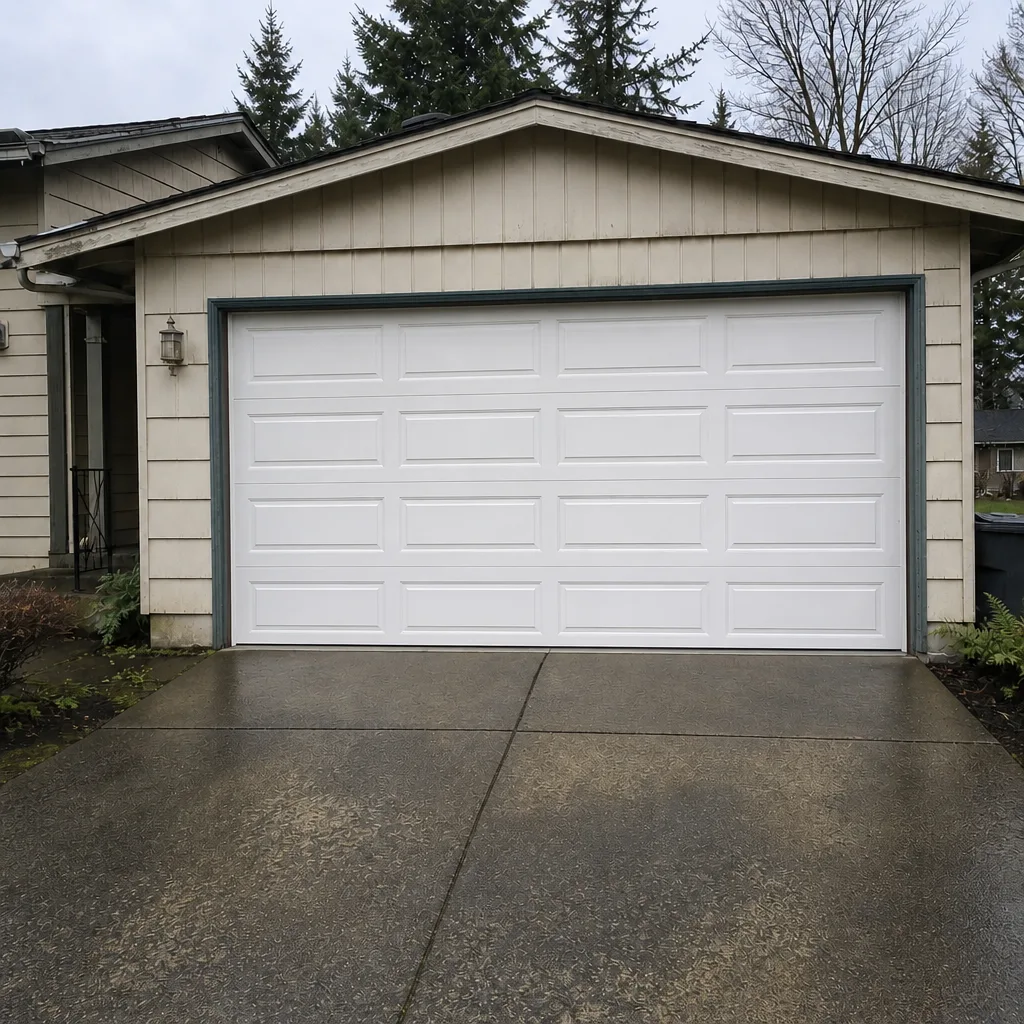 After
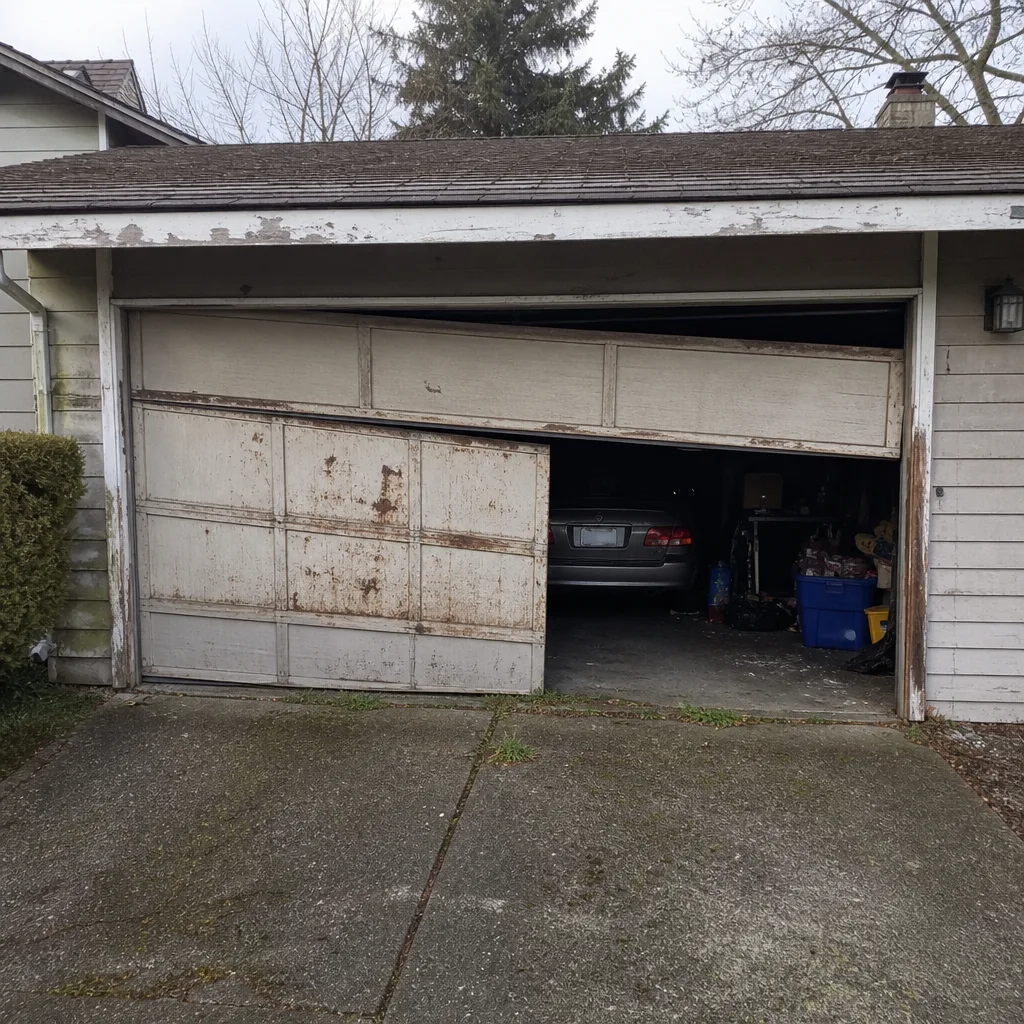 Before
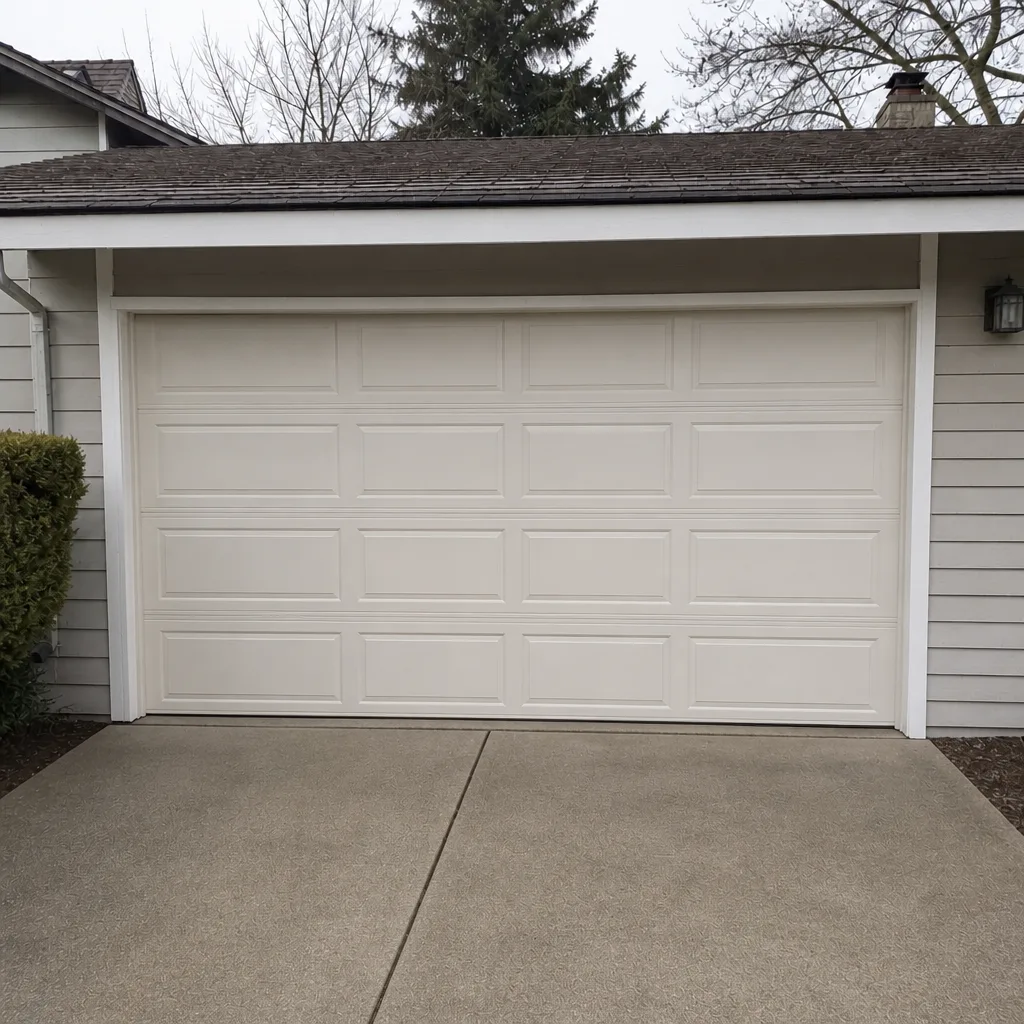 After
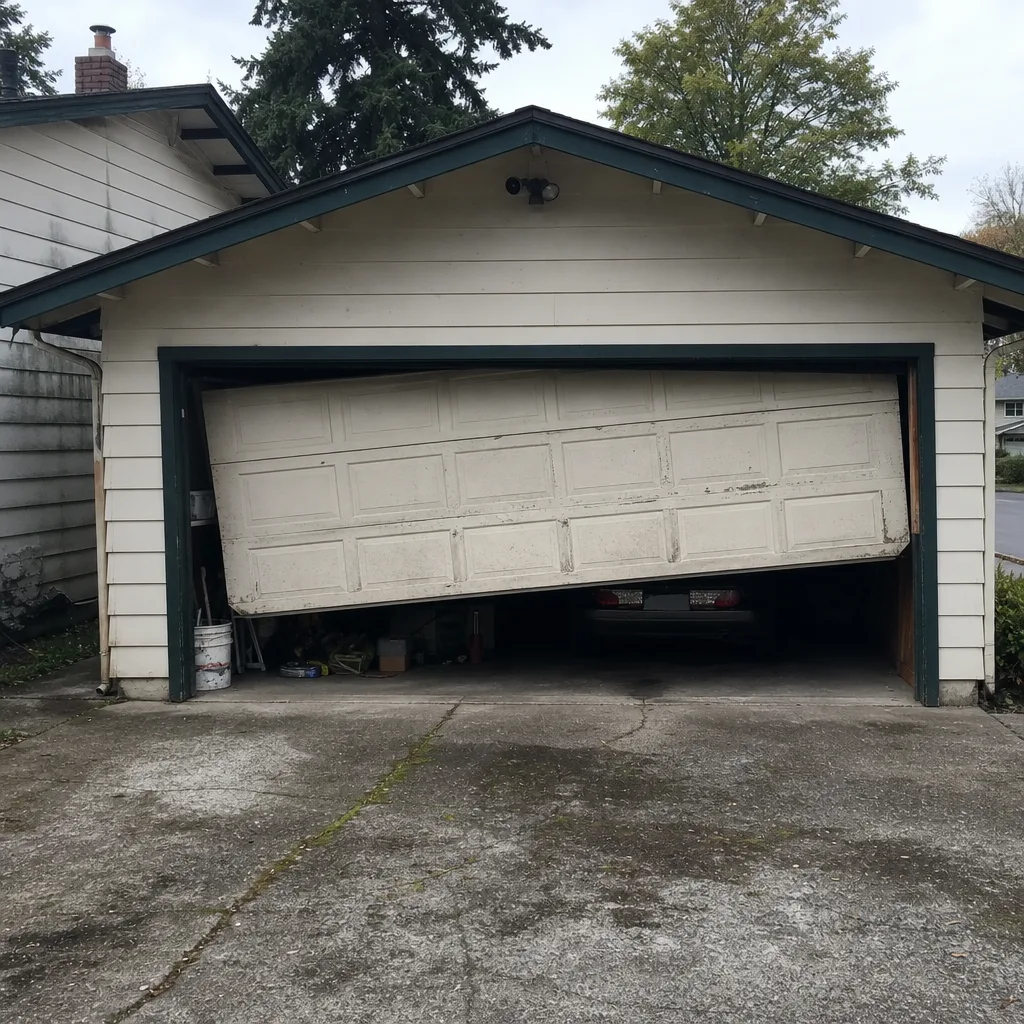 Before
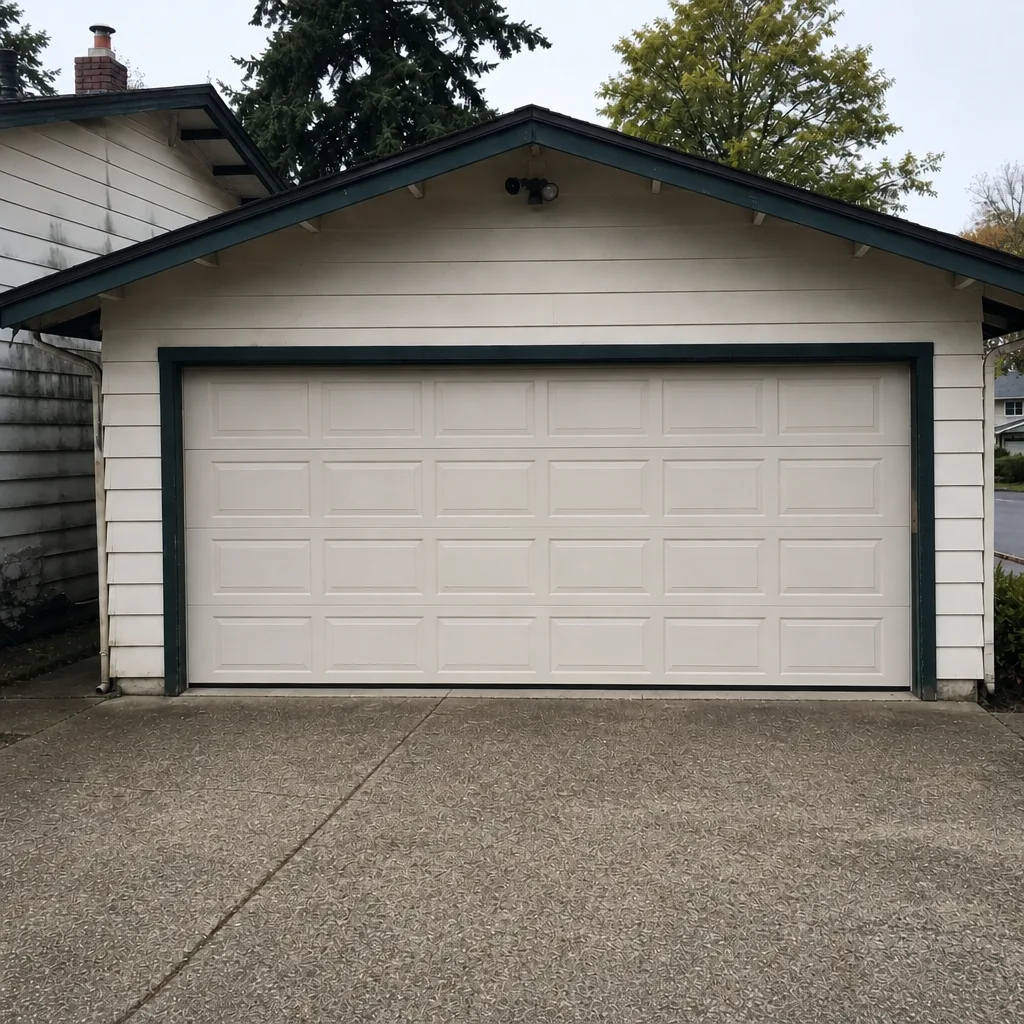 After
When to Call a Professional
Call a professional any time the door won’t open or close, the spring is broken or sagging, the cable is off or frayed, the door is crooked, or the opener is making a new noise. Those are the situations where a trained technician saves you money and risk at the same time. Emergency service is available because a door that won’t move is a security and access problem, not a “schedule it for next week” problem. Our technicians have up to 15 years of experience and work on the major brands, including LiftMaster, Chamberlain, and Genie. The local pro we connect you with is licensed and insured as Washington state requires. Renton Garage Door Repair Co offers free estimates in Renton, and the price is quoted and agreed before any work starts. Call (855) 475-0589 to get it scheduled. If the door fails on a Sunday, we can book the visit for Sunday; we’re closed on Saturdays.
Frequently Asked Questions
It’s technically possible, but it isn’t something we recommend, and it isn’t a smart way to save money. Torsion and extension springs store enough energy to break bones when they release, and the correct winding tools aren’t in a typical home toolbox. The cost of a professional spring repair, typically $180 to $340 for one spring and about twice that for a matched pair, is cheap compared with the downside. Call (855) 475-0589 for a free estimate, and the written estimate sets the final price.
Weatherstripping, the bottom seal, lubrication, photo-eye sensor alignment, remote and keypad programming, and roller or hinge replacement with the door fully open. These are cosmetic and simple mechanical tasks with no stored-energy risk, and finishing them yourself cuts the total cost of getting the door sorted. The springs, cables, drums, and any bolt under tension are the boundary. Leave those to a trained technician.
That depends on your policy and the specifics of the claim, and it isn’t a simple yes. Injury claims are the hardest case, and property damage usually depends on how the insurer reads the cause; many policies exclude faulty workmanship. Read your policy or ask your agent before you start. The safer position is to hire out the dangerous work, and call (855) 475-0589 for a free estimate if you want to compare the numbers.
Often on the parts you touch. Manufacturer warranties typically cover a component when a qualified technician installed or repaired it, and improper installation or unauthorized repair is grounds for a denial. Springs, openers, and cables are the common trouble spots, especially on hardware that costs a few hundred dollars to replace. A written estimate from a professional comes with documentation the warranty claim can rely on.
Typical spring repair pricing is $180 to $340 for one spring, and a matched pair is about twice that, since springs are usually replaced together. Extension springs price in the same range. Opener repair and cable work are quoted on site after a look at the door. Pricing is per job by estimate, and the written quote is what you pay. Call (855) 475-0589 for an exact quote; estimates are free.
Yes. We work on LiftMaster, Chamberlain, Genie, Clopay, Amarr, Wayne Dalton, Craftsman, and Raynor equipment. That brand familiarity shortens the diagnosis and means the correct part is sourced without guesswork. If you’re not sure what you have, a photo of the opener’s label speeds the visit up. Reach us at (855) 475-0589.
The Bottom Line
The DIY vs professional question for a garage door has a clear answer once you split the work. Seal, weatherstripping, lubrication, sensor alignment, and remote programming: those are yours, and doing them keeps the total cost down. Springs, cables, drums, and header bolts under tension: those belong with a trained technician, because the stored energy doesn’t care how careful you are. That split protects your hands, your warranty, and your insurance situation, and it puts your money where it actually buys safety. In Renton, spring repair typically runs $180 to $340 per spring. Call (855) 475-0589 for a free estimate, and the price is agreed before any work starts.
Written by the team at Renton Garage Door Repair Co.