Last updated November 21, 2026
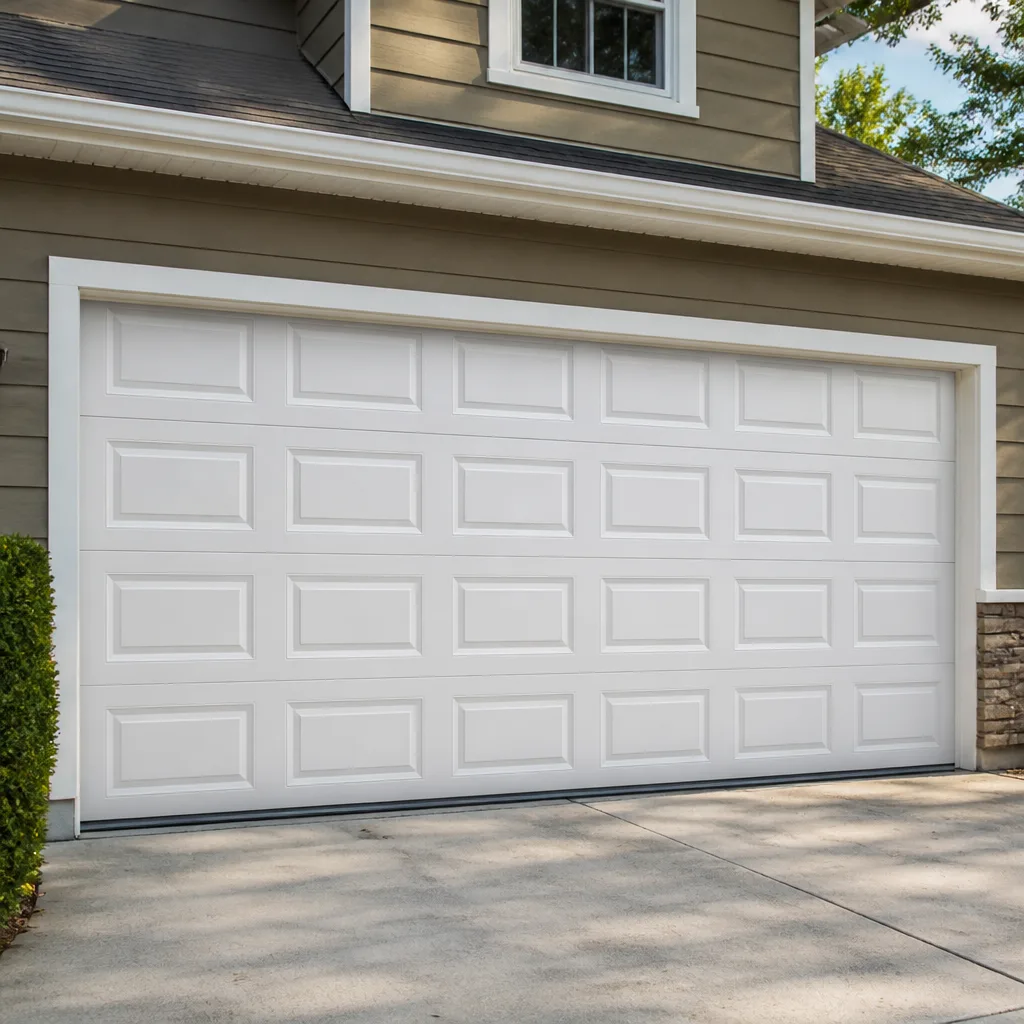 Raised-panel steel
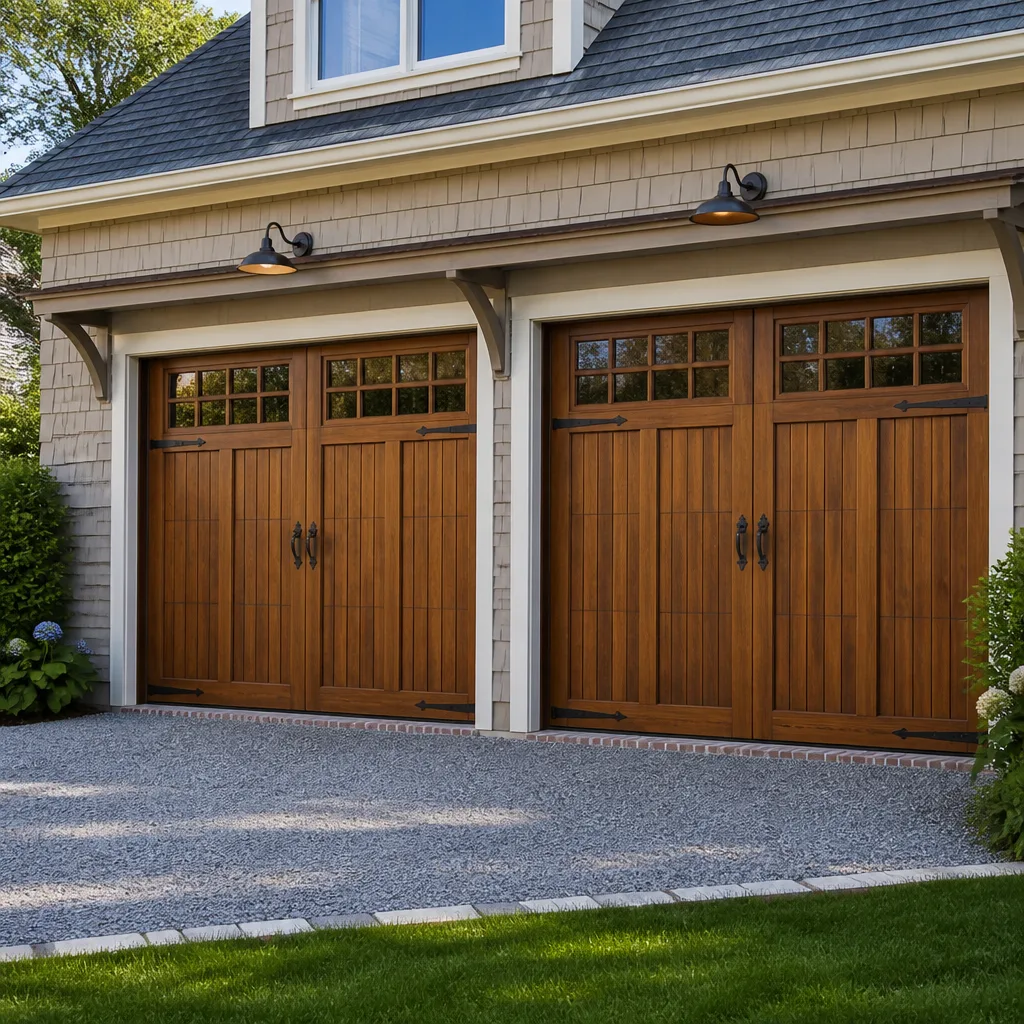 Carriage house
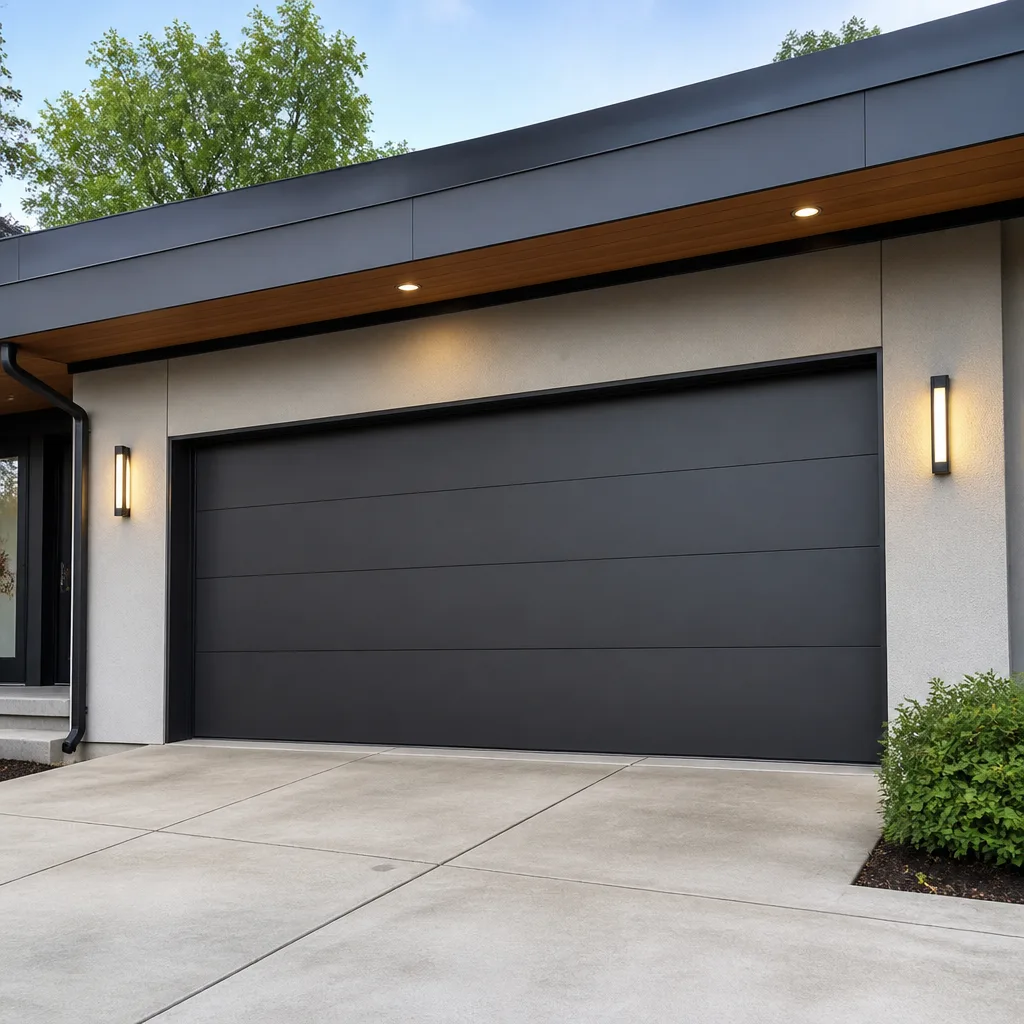 Modern flush
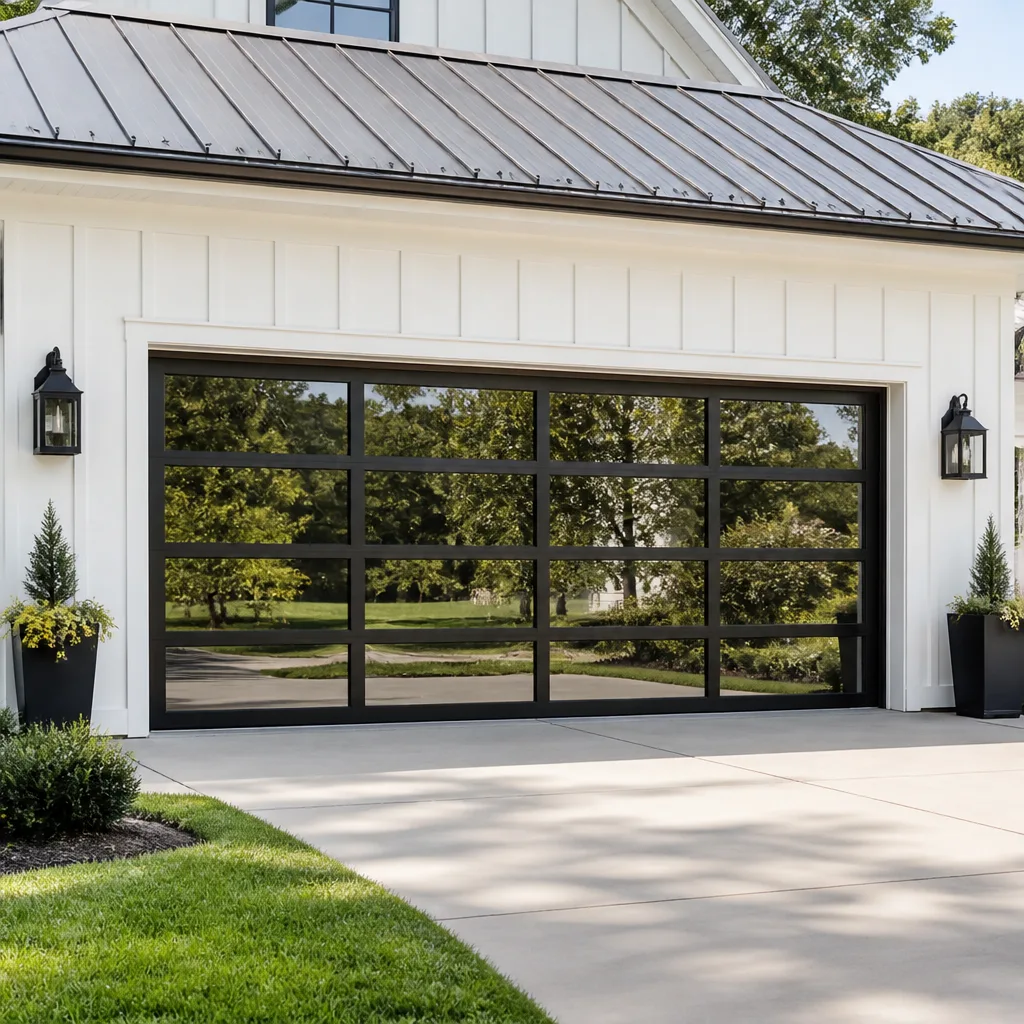 Full-view glass
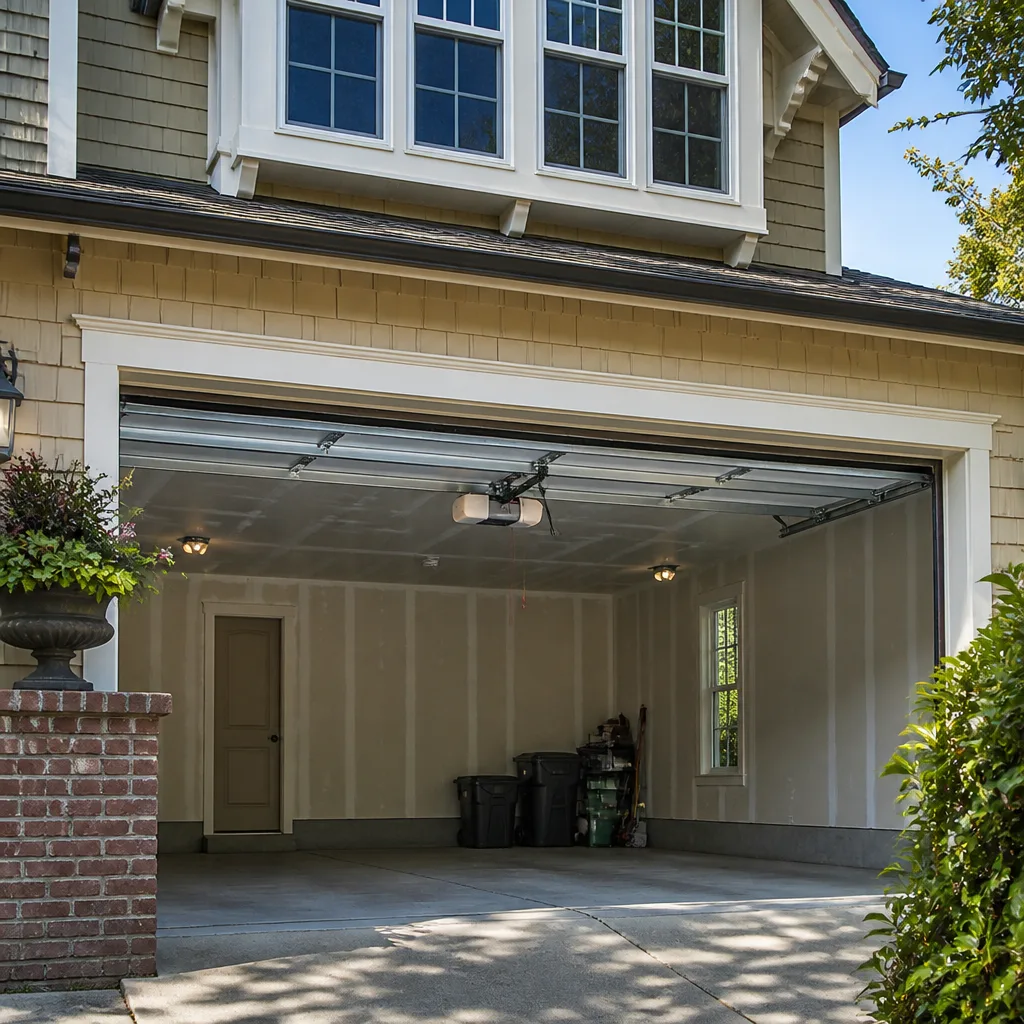 LiftMaster openers
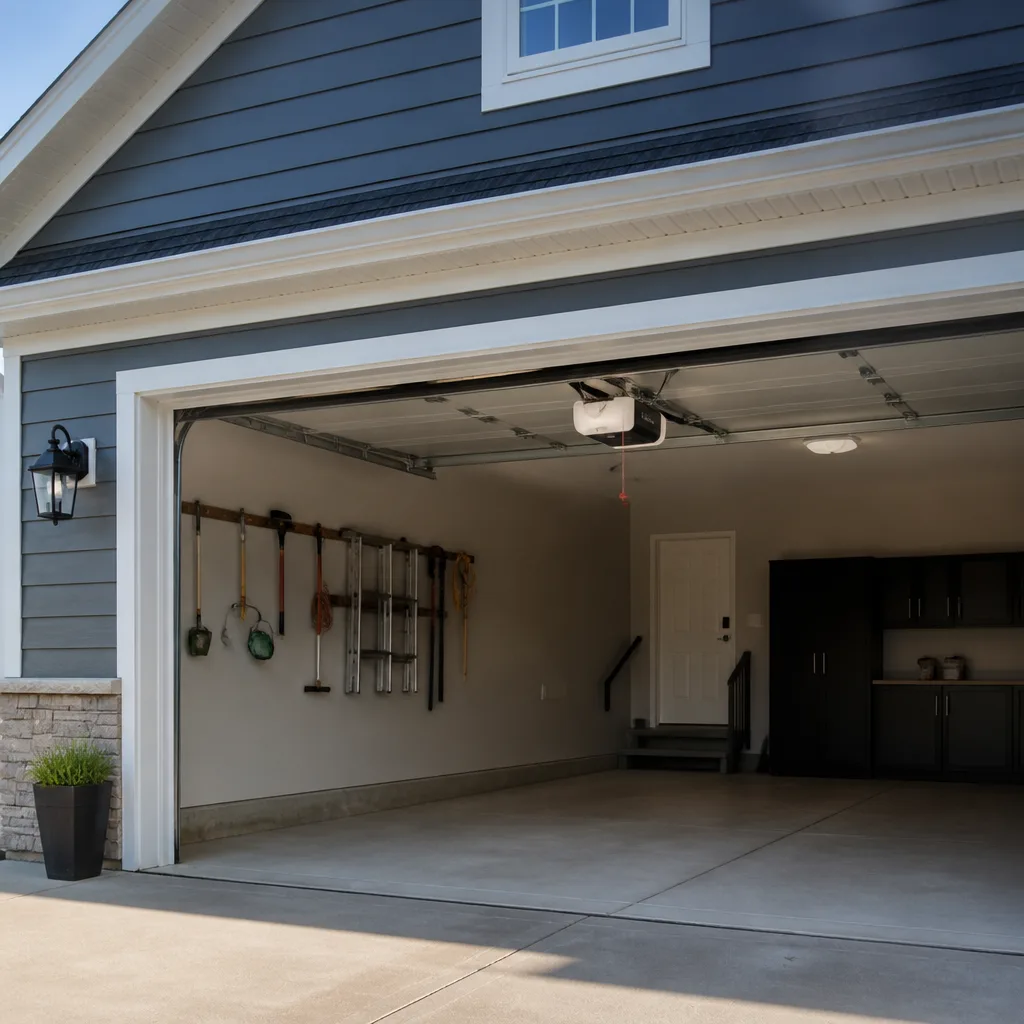 Chamberlain openers
Full 25-point door and opener safety check with every visit - springs, cables, rollers, tracks, and your LiftMaster or Chamberlain opener included
You get a price before we start. It does not change when the pro arrives.
Get your free estimateGarage Door Repair Maintenance Checklist for Renton Homeowners
The number-one reason Renton homeowners call for emergency garage door repairs isn’t a dramatic break. It’s usually something small and visible that was ignored for months: a nylon roller cracking, a hinge wearing thin, a weather seal peeling loose. The door worked fine, until one morning it didn’t, and suddenly the car is trapped inside and the day is off the rails. What follows is a maintenance checklist built around the stressors this city actually throws at a garage door, ranked by how quickly each failure point turns into a safety or cost problem. You’ll learn what to check monthly, what to check twice a year, what to check annually, and exactly how to lubricate, test, and inspect so you catch the cheap stuff before it becomes the expensive stuff. If you’re in Renton and your door is already misbehaving, we can help today.
Quick Answer
A solid garage door maintenance routine for a Renton home has three tiers. Check monthly: rollers, hinges, weatherstripping, and the auto-reverse safety test. Check twice a year: springs, cables, tracks, and lubrication. Check annually: the opener’s force and travel settings, the door’s balance, and the hardware fasteners. Most emergency calls we handle trace back to a worn roller, a dry hinge, or a failing seal that sat unchecked through a wet Northwest winter. Ten minutes a month catches nearly all of it.
Styles & brands we work with
- Raised-panel steel
- Carriage house
- Modern flush
- Full-view glass
- LiftMaster openers
- Chamberlain openers
Table of Contents
- Why Renton’s Climate Is Hard on Garage Doors
- The Monthly Five-Minute Inspection
- Lubrication: What Goes Where (and Why Not WD-40)
- Testing Auto-Reverse and Photo Eye in Under Two Minutes
- Spotting Weatherstripping Failure in Wind-Driven Rain
- Reading Your Torsion Springs Before They Snap
- The Twice-Yearly and Annual Deep Check
- Common Mistakes to Avoid
Why Renton’s Climate Is Hard on Garage Doors
Renton sits in the Puget Sound lowlands, which means mild temperatures but a lot of moisture. Wet winters follow dry summers, and that swing does more to a garage door than most people expect. Metal expands in July and contracts in January, and that constant flexing works loose fasteners, opens hairline gaps at the hinges, and stresses the mounting points. The door is moving in and out of a heated house envelope into an unheated garage, so the components on the outside of the door face are living in one climate while the track and hardware inside live in another.
The other local factor is wind-driven rain. Storms coming off the Sound and through the Renton valley push water sideways against the door, not just down on it. That means the bottom seal and the perimeter seal take more abuse than they would in a drier climate, and water that gets past the seal drains into the garage floor, where it sits. Over the course of a few wet seasons, a compromised seal contributes to a damp garage, rust on the door’s bottom section, and loosened fasteners at the base of the tracks.
We also see more debris fouling in Renton than people expect. Fir needles, leaves, and the fine grit that collects along curbs and sidewalks work their way into the track channels and the roller pockets. That grit acts like sandpaper on the nylon rollers and galvanized tracks, and a door that’s slowly being ground down sounds louder and runs rougher long before it actually fails. A simple monthly wipe-down of the tracks does more to extend the life of a Renton door than almost anything else. If you want a professional eye on the whole system, garage door repair covers the full inspection and fix in one visit.
The Monthly Five-Minute Inspection
Here’s the routine we recommend for every Renton household. Set a reminder on the first of the month, walk out to the garage with a flashlight and a rag, and run through these five items. It takes five minutes, and it catches the fastest-moving failure points before they escalate.
- Rollers. Open the door halfway and look at every roller. The nylon or steel wheel should spin freely and show no flat spots, cracks, or chips on the rim. A cracking nylon roller is the single most common precursor to a stuck door. If you see cracking, that’s the item to replace now, not later.
- Hinges. Look at the hinge plate where each roller mounts. Worn hinges show as a crack in the metal, a loose screw, or a gap where the hinge knuckle has opened up. Tighten any loose screws, and note any hinge that looks deformed.
- Weatherstripping. Run your hand along the bottom seal with the door closed. It should feel pliable and sit snug against the floor. Check the perimeter stop molding on both sides and across the top.
- Safety test. Place a piece of 2×4 flat on the floor in the door’s path and run the close cycle. The door must reverse on contact. Then test the photo eye (see the dedicated section below). This is the one test you never skip.
- Track debris. Wipe down both vertical and horizontal tracks with a rag. Pull out any fir needles, grit, or cobwebs. Don’t lubricate the tracks; just clean them.
That’s the whole monthly routine. If a door is starting to sound like a bear waking up, or you can’t get it to sit level, that’s worth a diagnostic rather than a wait-and-see. We work on the major opener brands, so a LiftMaster or Chamberlain unit gets the same familiar treatment as a Craftsman or Wayne Dalton.
Lubrication: What Goes Where (and Why Not WD-40)
We’ve seen more doors damaged by the wrong lubricant than by no lubricant at all. The most common culprit is WD-40, which is a solvent and light penetrating oil, not a lubricant. On a garage door it does exactly the wrong thing: it dissolves the grease pack inside the rollers, attracts grit, and then dries out, leaving the moving parts running dry and dirtier than before. WD-40 has its uses in a garage. Lubricating your door isn’t one of them.
Here’s the product-by-product guide we give to Renton customers:
- Torsion springs and extension springs: a dedicated garage door spring lubricant, typically a spray that goes on as a thick film and stays put. Never apply grease or engine oil to a spring; you want a coating that resists sling-off. Apply lightly along the coil, then run the door up and down once to distribute it.
- Rollers: a light lithium grease or a white lithium spray on the roller stem and bearing (not the wheel rim that rides in the track). Nylon rollers need less than steel rollers but still benefit from a thin coat on the stem.
- Hinges and roller brackets: white lithium grease or a silicone-based garage door spray, applied to the pivot points.
- Lock, latch, and opener rails (if metal): a few drops of light machine oil, or a silicone spray. Do not grease the opener rail on a belt-drive unit; just a light clean-and-spray is enough.
- Tracks: nothing. Clean them, don’t lubricate them. Grease plus grit equals a track that grabs the rollers and binds.
A good rule of thumb: thin for pivoting metal, thick for spring coils, and nothing at all in the tracks. If you’re unsure which product is which, buy the ones labeled specifically for garage doors rather than generic household spray, and read the label. This is also the step most likely to be skipped if the wrong grease is applied in the wrong spot, so if you’re unsure, we can spec the right products during a garage door opener repair visit and set you up for the rest of the year.
Testing Auto-Reverse and Photo Eye in Under Two Minutes
The auto-reverse system is the single most important safety feature on a garage door, and it’s the one thing you can test reliably yourself at home. Here’s the exact pass/fail standard, so you know when to trust the door and when to set it aside until a technician looks at it.
- Test the contact reverse. Open the door fully. Lay a 2×4 flat across the floor in the door’s path, about a foot in from where the door lands. Press close. The door must hit the 2×4 and reverse to the fully open position within about two seconds. If it stalls, stops, or grinds onto the board, that’s a fail; don’t use the door until it’s serviced.
- Test the photo eye. With the door open, walk to one of the two small sensors mounted near the floor at each side of the door opening. Wave a hand or a broom handle across the beam between them. The door controller’s light should blink or the opener should click; check that the beam is being interrupted. If the door won’t close when the beam is blocked, that’s the pass. If the door keeps closing with something in the beam, that’s a fail.
- Check the sensor alignment. The two sensors should point at each other, sit at the same height, and be free of cobwebs, dust, and debris. A sensor that’s loosely mounted will drift out of alignment over a few months, especially if a car bumper or a child’s bike has nudged it.
- Check the sensor light. The “sending” and “receiving” sensors each have a small indicator light. Both should be steadily lit (or steadily on, depending on the opener model). A blinking or dark light means the beam isn’t making it across.
If you have a newer opener, the auto-reverse can also be set by the control panel rather than the physical sensor; follow your opener’s manual for that exact procedure. The key is that you test both contact and beam, not just one. If either fails, don’t keep using the door until a professional has adjusted or replaced the component. Our technicians have up to 15 years of experience with these systems, and this is one of the fastest fixes we do.
Spotting Weatherstripping Failure in Wind-Driven Rain
The standard advice (“check for cracks and replace if damaged”) misses the specific way weatherstripping fails in Renton. Here, the rain doesn’t just fall down on the door; it gets driven sideways into the door by wind coming off the Sound and through the valley. That means the perimeter seal and the bottom seal on the windward side of the house take the worst of it, and they fail from the edges inward, not from the middle out.
Here’s what to actually look for on a Renton door:
- The outside corners of the bottom seal. That’s where the wind-driven rain gets in first. Feel there with your fingers after a storm, and look for water tracking down the inside face of the door or pooling just inside the garage floor.
- The threshold gap. With the door closed, look at the gap between the door’s bottom edge and the floor at each end. If the rubber has gone flat or brittle and just rests on the concrete without pressing, there’s a gap even if it looks okay from a standing height.
- Perimeter stop molding. Run your hand along the side and top stops. A seal that’s split, hardened, or curling away from the frame is a failure, even if it still looks mostly attached.
- Water stains at the base of the wall. Look at the interior walls near the door frame. Dark streaks or efflorescence (the chalky white residue) tell you moisture is getting past the seal.
- The bottom of the door section itself. The bottom section of the door is the closest to the ground and the most exposed to rain splash. Look for bubbling paint, rust, or soft spots.
Bottom seals are inexpensive and quick to swap; a homeowner who replaces the bottom seal every few years heads off the rust, the damp garage, and the pest entry. If you’re not sure whether the seal or the frame is the culprit, a quick look from a technician settles it. If the door’s bottom section has already rusted through, that’s a case for a new door, and we can talk you through the options in a garage door installation estimate.
Reading Your Torsion Springs Before They Snap
The torsion spring is the part of your door under the most stress, and it’s the one you must not try to adjust, repair, or replace yourself. Springs store enough energy to cause serious injury. What you can do is read them correctly and call before they fail, not after.
With the door closed, stand back and look at the spring above the door. A healthy torsion spring shows a tight, consistent coil with clean metal in the gaps. Here’s what to watch for:
- A visible gap in the coil. If the spring looks like it’s split into two sections with a gap between them, that’s a break, and the door will feel heavy and off-balance. Stop using it and call us.
- Rust streaks or pitting on the coil. Renton’s damp winters accelerate rust at the spring, and a rusted coil loses strength unevenly. That’s a yellow flag, not a red one yet, but it’s the right time to call.
- A door that creaks or pops as it moves. That usually points to a dry spring, loose hardware, or a failing roller, and it’s worth a diagnosis.
- A door that won’t hold at the halfway point. With the opener disengaged (pull the release cord), lift the door by hand to about waist height and let go. A balanced door holds there. A door that drops or rises on its own has a spring tension problem.
- Any spring that has already failed. A snapped torsion spring should never be used or handled by a homeowner. It’s one of the most commonly botched DIY jobs, and it’s the one we most often come to after the fact. If yours has failed, or you suspect one is about to, that’s a call to us, not a weekend project.
When a spring does let go, our spring repair service is handled by trained technicians, and we treat it as the safety item it is. If the door is stuck and needs to move today, our emergency garage door service is the right call.
The Twice-Yearly and Annual Deep Check
Beyond the monthly routine, some items are better done twice a year, and a few are worth an annual pass. We mark the calendar on the same day the clocks change: spring forward, check the deep items; fall back, check them again. It’s the easiest way to remember, and it lines up with the seasonal swings that work a Renton door loose.
Twice a year (spring and fall)
- Spring inspection. Full visual check of the torsion and extension springs (see the section above).
- Cable inspection. Look for frayed strands, kinks, or slack on the lift cables at each side. A cable under tension is a serious hazard; don’t handle it, note it and call.
- Track alignment. With the door closed, look down each vertical track. The tracks should be straight up and down and parallel. A gap between the roller and the track track at any point is worth a look.
- Full lubrication pass. Springs, hinges, roller stems, and lock as described above. Clean the tracks.
- Fastener check. Run a screwdriver over the hinges, brackets, and the track mounting plates. Tighten any screw that’s loosened.
Once a year
- Balance test. Disengage the opener and lift the door by hand. It should lift smoothly and hold at the halfway point. If it fights you or drops, that’s a spring or tension issue for a professional.
- Opener force and travel settings. Check the opener’s manual for the procedure to test and set the open and close limits. If the opener is a modern LiftMaster or Chamberlain, this is quick on the control panel. Don’t increase force to overcome a bind; fix the bind instead.
- Door panels and paint. Look for bubbling, rust, or paint failure on the door surface. Touch up as needed to protect the metal.
- Full inspection by a technician. Once a year, book a professional inspection of the whole system. It’s the cheapest way to catch the spring that’s about to fail, the cable that’s about to fray, or the opener that’s about to give up. We do this at a Renton Garage Door Repair Co visit, and it’s less expensive than an emergency call after a failure.
Common Mistakes to Avoid
- Using WD-40 as a lubricant. It’s a solvent, not a lube, and it strips the grease from your rollers and hinges. Use a garage-door-specific spray or white lithium grease.
- Lubricating the tracks. Grease plus grit means the rollers stick and the door binds. Clean the tracks; don’t grease them.
- Ignoring a cracked nylon roller. A cracking roller is the most common cheap part that leads to an emergency call. Replace early rather than after it locks the door.
- Forcing a door that’s off-balance. If the door is heavy, creaky, or won’t hold at halfway, the spring or cable is the issue. Forcing it just wears the opener and turns a small fix into a bigger one.
- Skipping the safety test. A door that fails the photo-eye test can crush or injure a person or pet. Test it monthly, and never bypass the sensor to make the door “work.”
- Waiting on a perimeter seal. In Renton’s wind-driven rain, a failing seal lets water into the garage and rust into the door. A cheap seal now saves a floor and a door section later.
- Treating a spring as a DIY item. Torsion and extension springs are under extreme tension. This is not a homeowner repair, and it’s the one item on this list that should be left to a trained technician.
See the difference
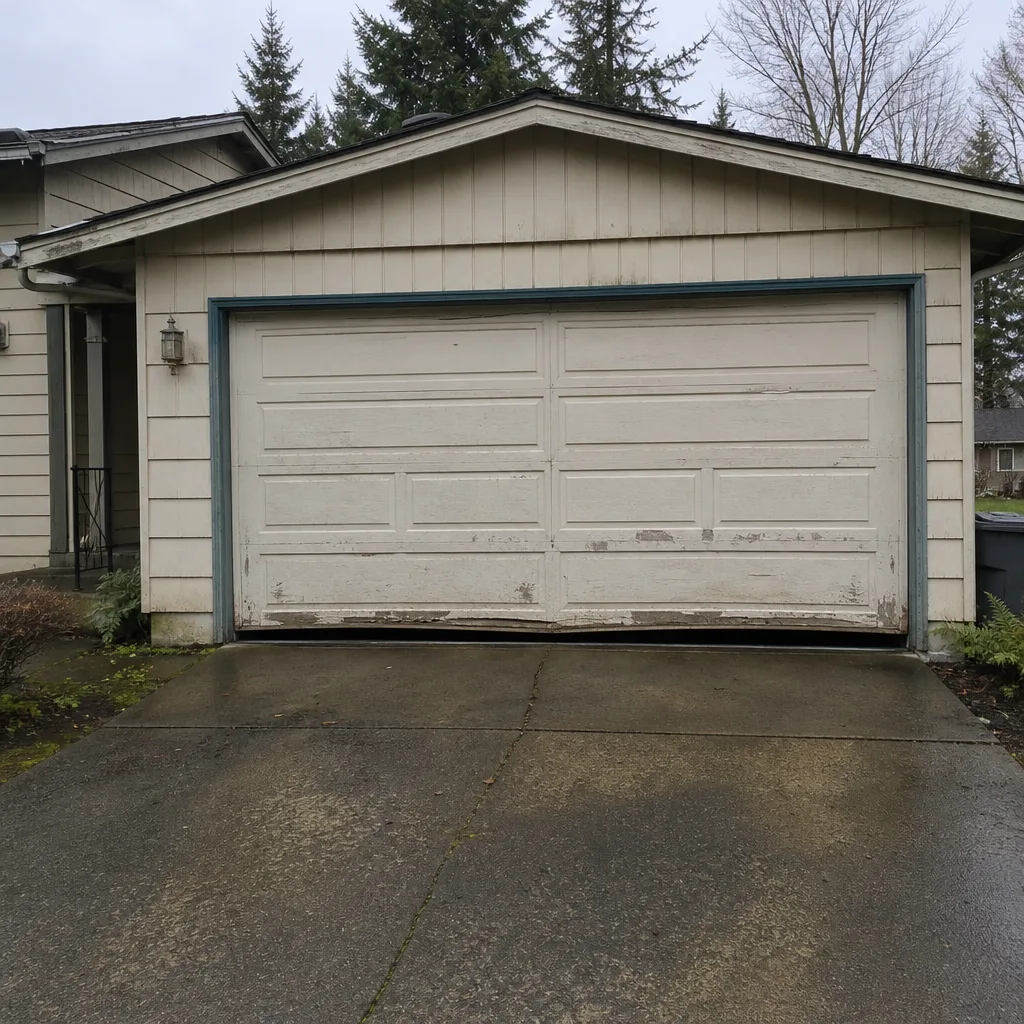 Before
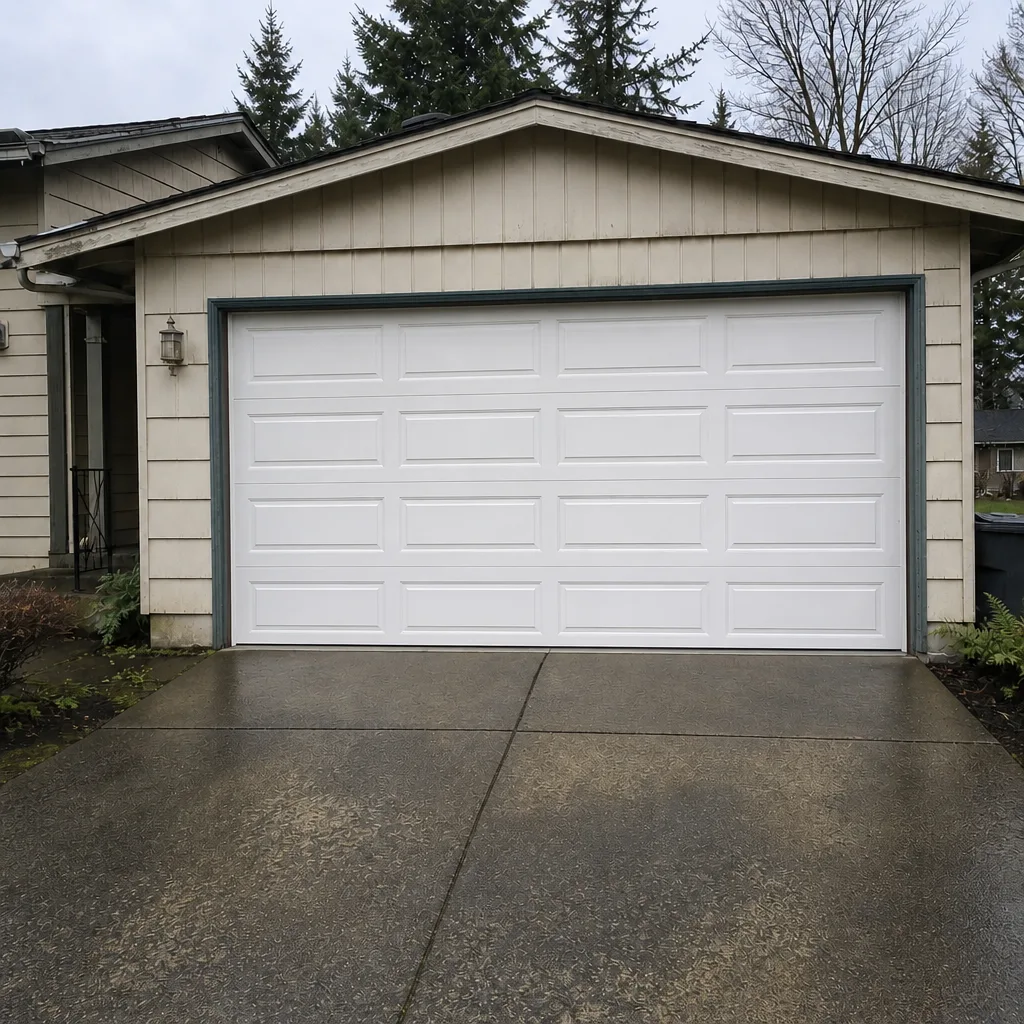 After
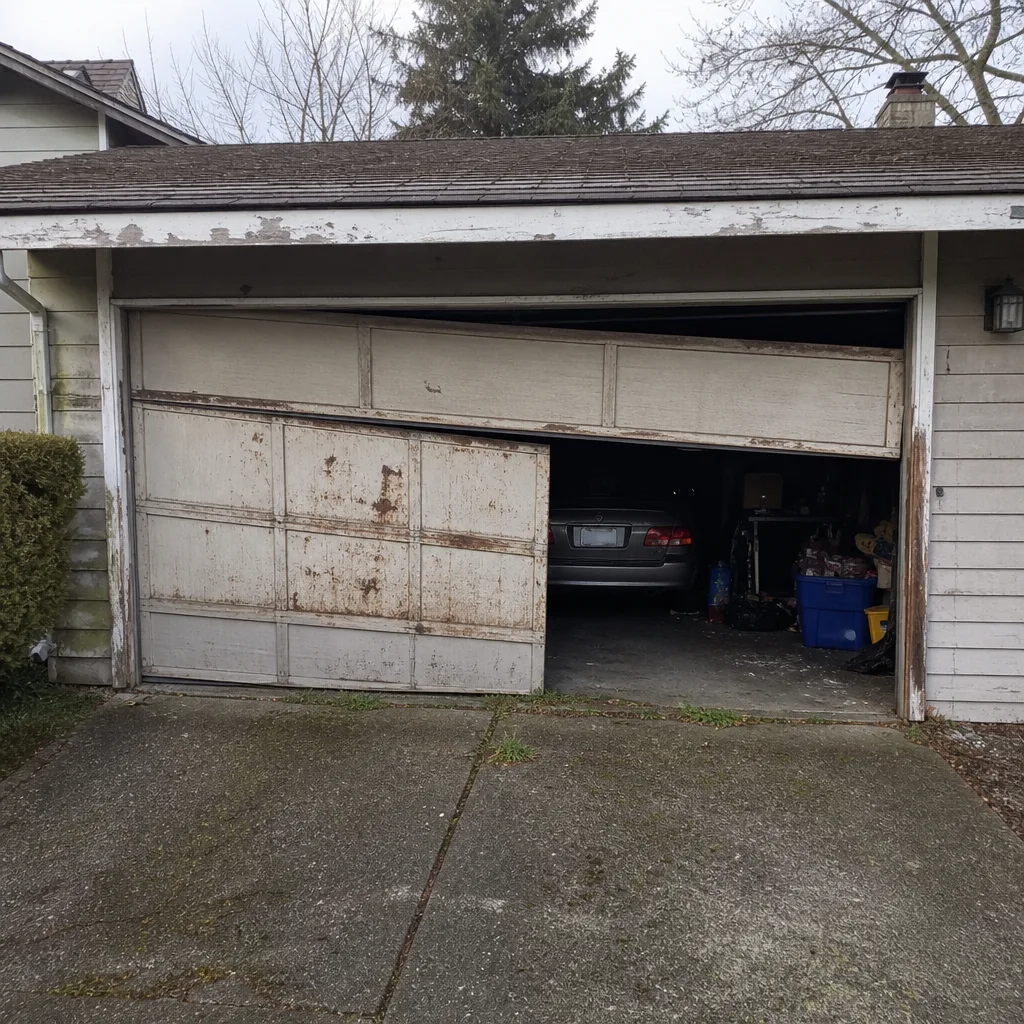 Before
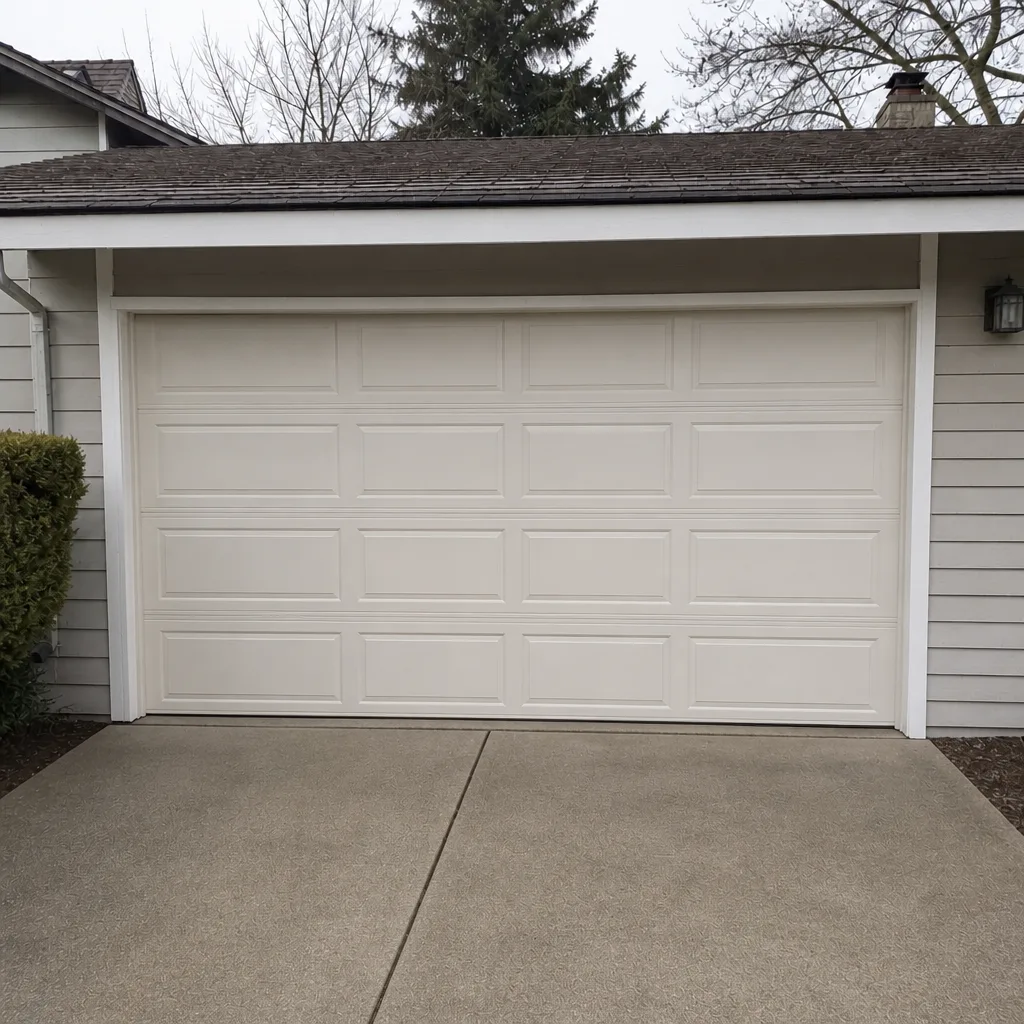 After
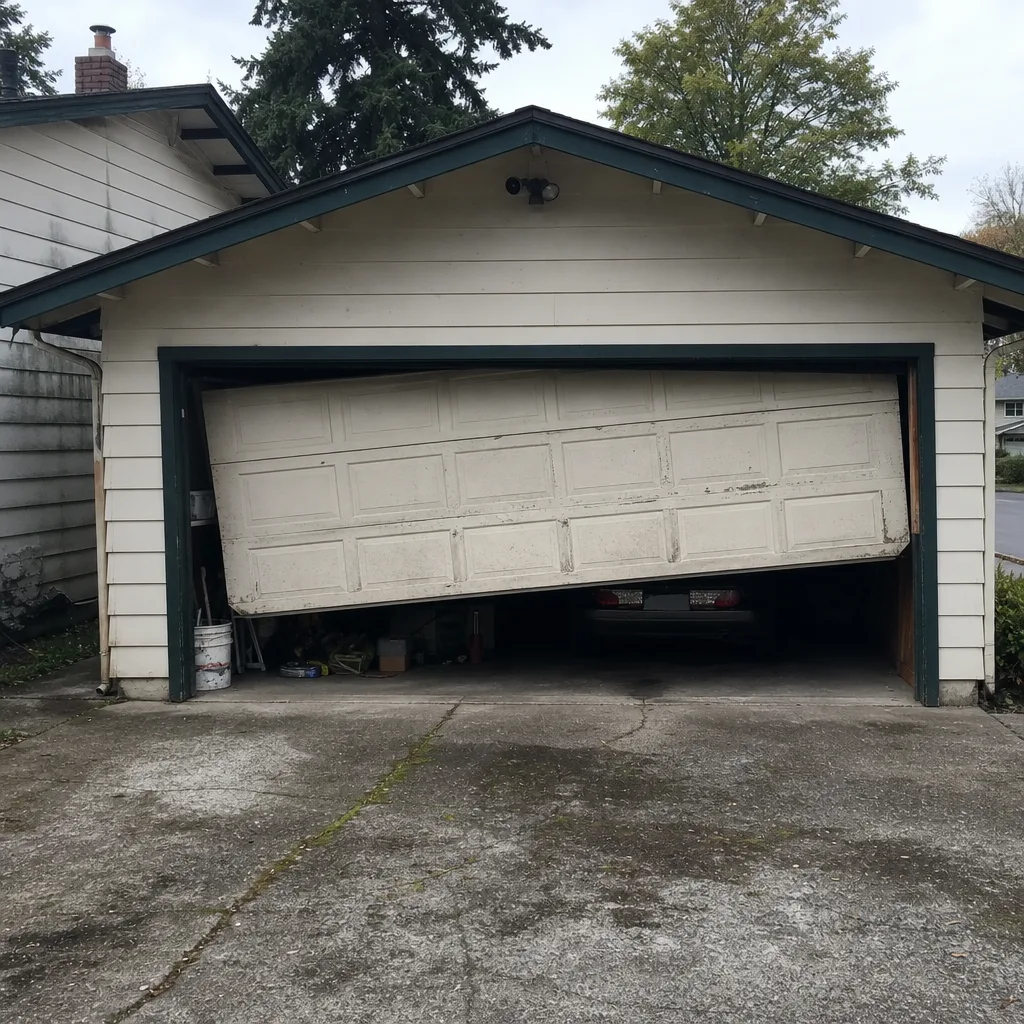 Before
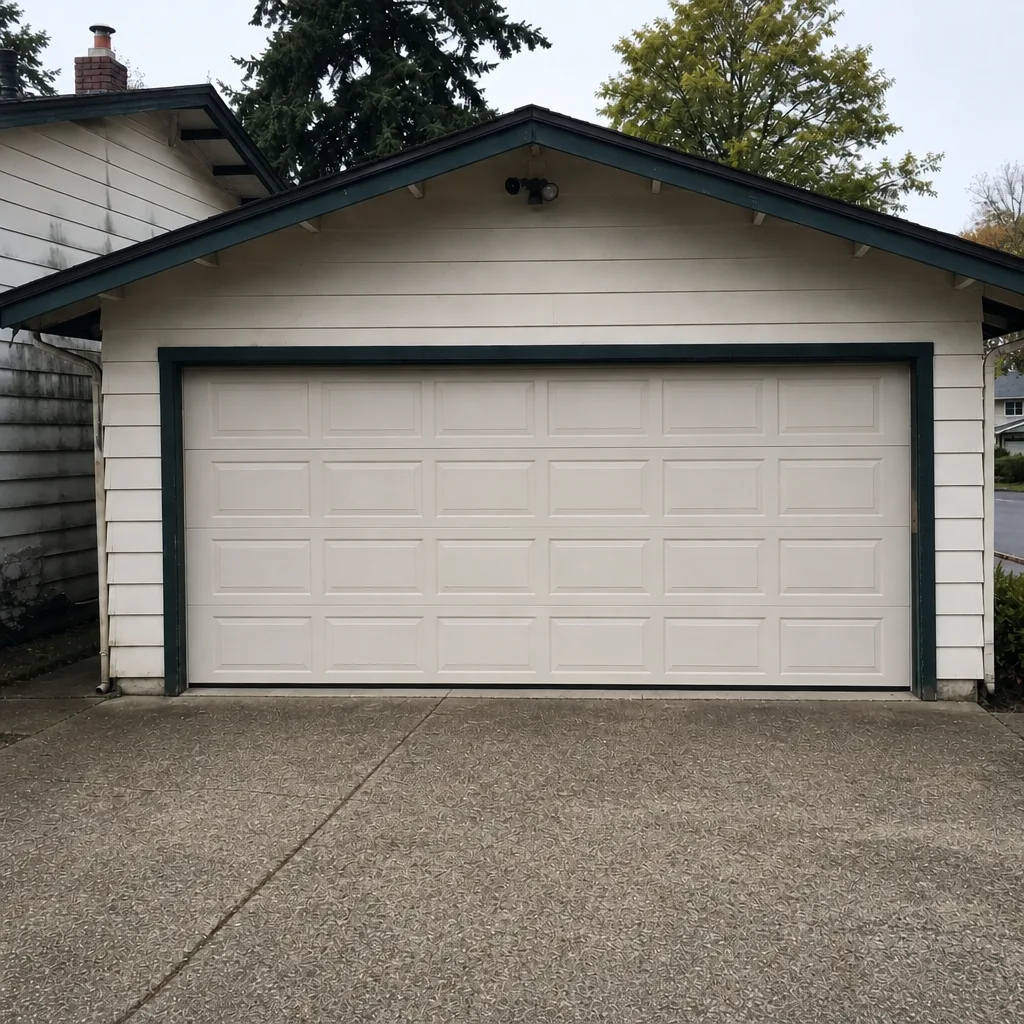 After
When to Call a Professional
Call a professional whenever the door is off-balance, a spring shows a gap or heavy rust, a cable is frayed or slack, the door fails the safety test, or the opener binds or overruns its limits. Call right away if the door is stuck open (a security issue) or stuck closed (an access issue). A trained technician with the right parts is faster and safer than a homeowner working from a video. Renton Garage Door Repair Co offers free estimates in Renton. Call (855) 475-0589 for a free estimate, and we’ll get the right fix in place. Our technicians have up to 15 years of experience, and we handle the full job: repair, opener repair, spring repair, and new installation. When the door won’t move, we’re the specialist to call.
Frequently Asked Questions
Check the main moving parts monthly (rollers, hinges, weatherstripping, and the safety test), do a deeper pass twice a year (springs, cables, tracks, lubrication), and book a professional inspection once a year. Ten minutes a month catches most small failures before they become emergencies.
WD-40 is a solvent and light penetrating oil, not a lubricant. It dissolves the grease in your rollers and hinges, attracts grit, and dries out, leaving the moving parts running dry and dirtier than before. Use a garage-door-specific spray or white lithium grease instead. Call (855) 475-0589 if you want the right products specified for your door.
Lay a 2×4 flat on the floor in the door’s closing path and press close. The door must contact the board and reverse to open within about two seconds. Then wave a hand across the photo-eye beam; the door must refuse to close while the beam is blocked. If either fails, don’t use the door until a technician adjusts it. Call us for a quick look – estimates are free.
No. Torsion and extension springs are under extreme tension, and this is the single most commonly botched DIY garage door job. A spring that lets go can cause serious injury. Have a trained technician handle spring repair, and call us at (855) 475-0589 to book it.
Wind-driven rain pushes sideways against the door, so the perimeter and bottom seals take more abuse than in a drier climate. If the bottom seal has gone flat or the side stop molding has split or curled, water gets in. A visual check after a storm tells the story; if you see tracking water or rot at the base of the door, it’s time to reseal or repair. Call (855) 475-0589 for a free estimate.
The written estimate is the price. We quote the job after inspecting the door, and we don’t start work until you’ve agreed to the quote. If the inspection turns up an issue that changes the job, we tell you and re-quote before anything starts. That’s the standard on every call, including garage door repair in Renton.
The Bottom Line
A garage door fails slowly, then suddenly. The cracking roller, the drying seal, the rusting spring, the grit in the track: each of these gives you months of warning, and each of them is cheap to fix while it’s just a warning. The maintenance checklist above turns that warning window into a monthly habit: five minutes of inspecting and cleaning, plus a deeper pass twice a year and an annual professional inspection. Ten minutes a month is the difference between a routine service call and an emergency on a morning you can’t afford one. If you’d rather have a professional walk the whole system, we’re here. Renton Garage Door Repair Co is a garage door specialist, and we’re happy to look. Call (855) 475-0589 for a free estimate and a written quote before any work begins.
Written by the team at Renton Garage Door Repair Co.